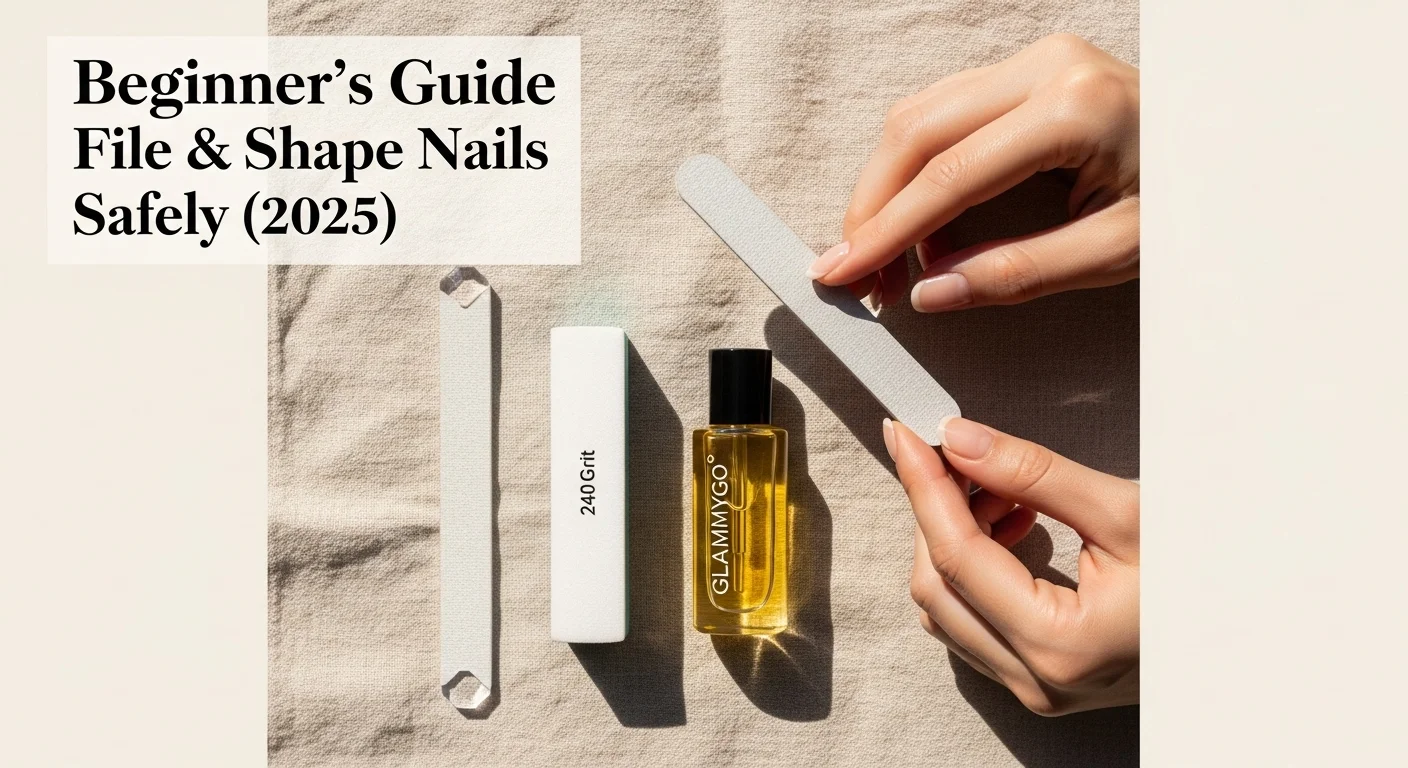
Beginner’s Guide: How to File & Shape Nails Safely (2026 Edition)

Why Start With Nail Filing Basics?
Ever feel like your nails break the moment they grow past your fingertip, or they always snag on clothes no matter how much polish you put on? The culprit often isn’t the polish — it’s the way you file. Shaping your nails is the foundation of nail health, and if you skip the basics, even the most expensive manicure won’t last.
Before you dive into trendy shapes like almond or coffin, it’s important to master the fundamentals: choosing the right tools, learning the safe filing motion, and sealing your work with proper aftercare. This is your beginner-friendly guide to filing and shaping nails safely in 2026.
💡 Once you’re comfortable with these basics, our guide to filing each nail shape covers almond, coffin and stiletto in detail.
🔹 Step 1: Choosing the Right Nail File
Your nail file is your best friend — or your biggest enemy. Many beginners blame their nail strength, when in reality, it’s the file that’s causing splits and peeling.
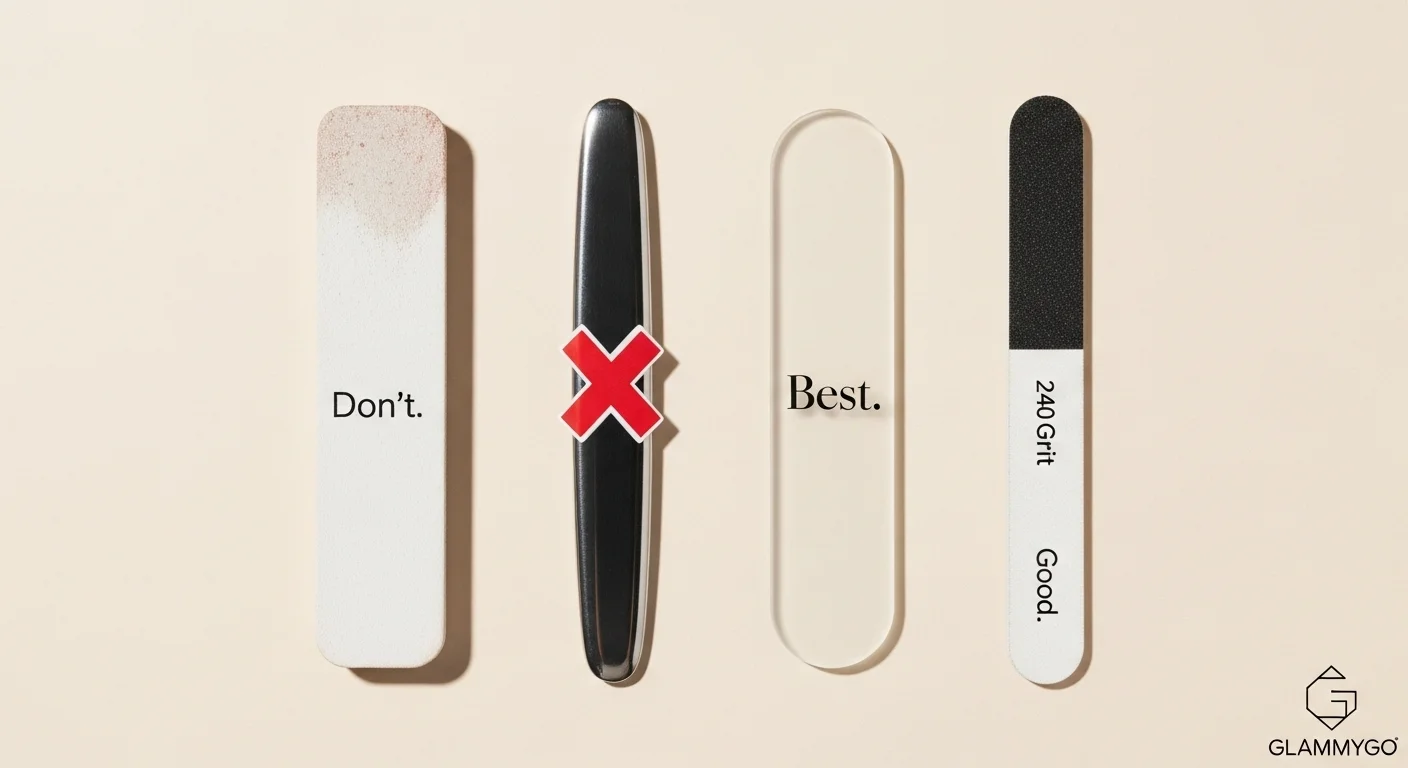
Types of Nail Files (and Which One to Use)
- Emery Boards (Don’t): Cheap cardboard boards with sandpaper texture. They shred keratin layers, leaving nails prone to peeling.
- Metal Files (Don’t): Too harsh for natural nails. They create tiny cracks invisible to the eye that later turn into splits.
- Glass / Crystal Files (Best): Seal nail edges smoothly without tearing. Lasts for years, easy to sanitize, and safe for thin nails.
- Professional Boards (Good): Look for 240–320 grit (the higher the number, the finer the grit). These are gentle enough for natural nails.
💡 Pro Tip: Keep two files — one at home (glass) and one in your bag (travel-sized board). Catching a snag immediately prevents it from becoming a full break.
Q: How do I know if my nail file is too rough?
If your nails feel scratchy or catch fibers on clothing after filing, your file is too coarse. Always test on the back of your hand — if it feels like sandpaper, avoid it.
🔹 Step 2: Mastering the Filing Technique
❌ What Beginners Often Do Wrong:
- Sawing back and forth aggressively.
- Filing nails after soaking (they’re weaker when wet).
- Filing too fast, creating heat and friction.
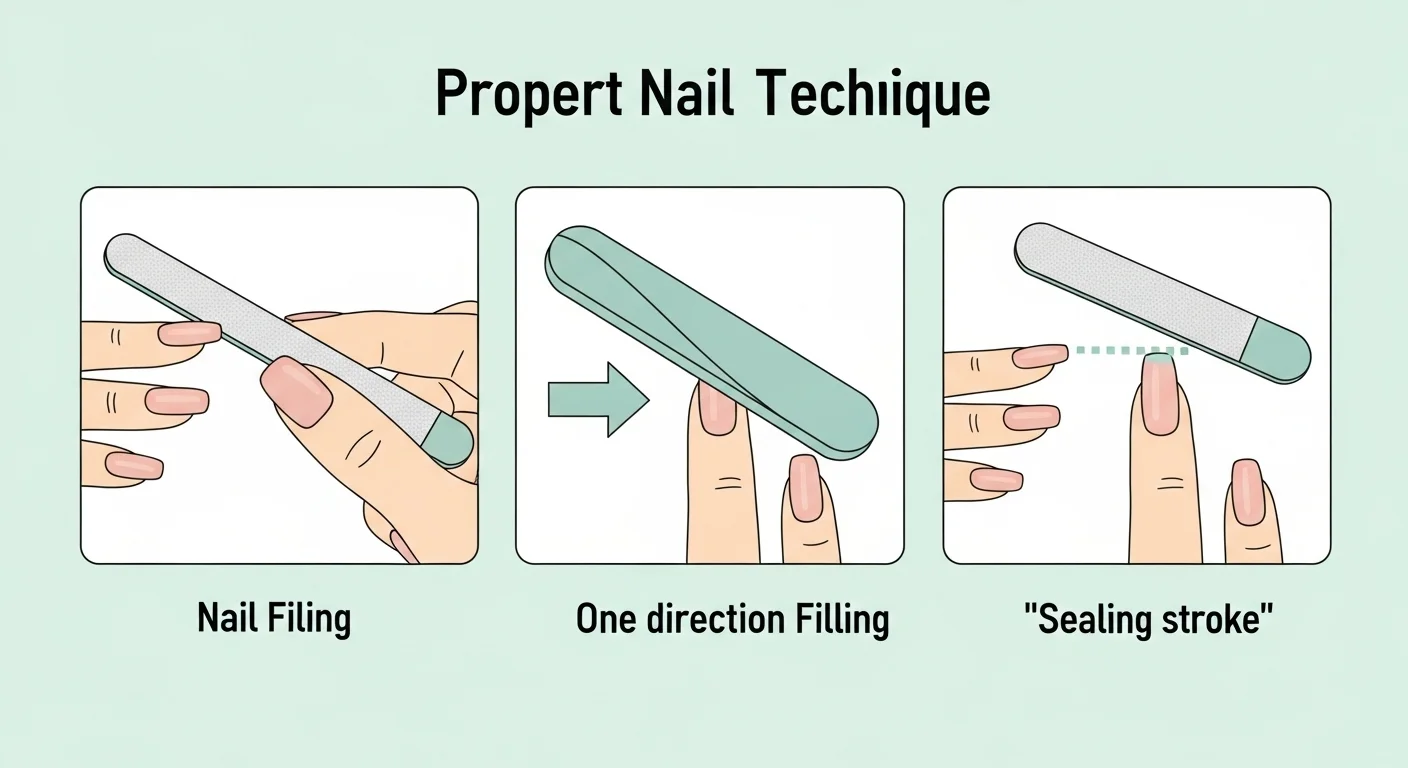
✅ The Correct Way to File:
- Hold the file at a slight angle to your nail edge.
- Start from the outer corner of the nail.
- Glide the file gently toward the center.
- Lift, reset, and repeat — never saw back and forth.
- Repeat on the other side until you meet in the middle.
This one-direction rule is for natural nails only. Gel and acrylic enhancements can be filed in any direction, which is why salon filing looks faster and rougher than anything you should do at home.
💡 Pro Tip: Always finish by “sealing” the edge with one final smooth stroke across the tip. This prevents peeling layers.
Q: Should I clip or file nails?
- Use clippers to reduce length only.
- Always finish by filing to refine shape and prevent sharp corners.
Q: Can you file acrylic or gel nails the same way?
No — acrylic and gels require stronger files (100–180 grit). This beginner guide focuses on natural nails only.
🔹 Step 3: Beginner-Friendly Nail Shapes
Some shapes look great in photos but are completely impractical for everyday wear, especially for beginners. Start simple.
Best Shapes for Beginners
- Round → short, natural, snag-proof.
- Squoval (Square + Oval) → balance between chic and practical.
- Soft Square → a little edge, but still safe from tearing.
Shapes to Try Later (Intermediate/Advanced)
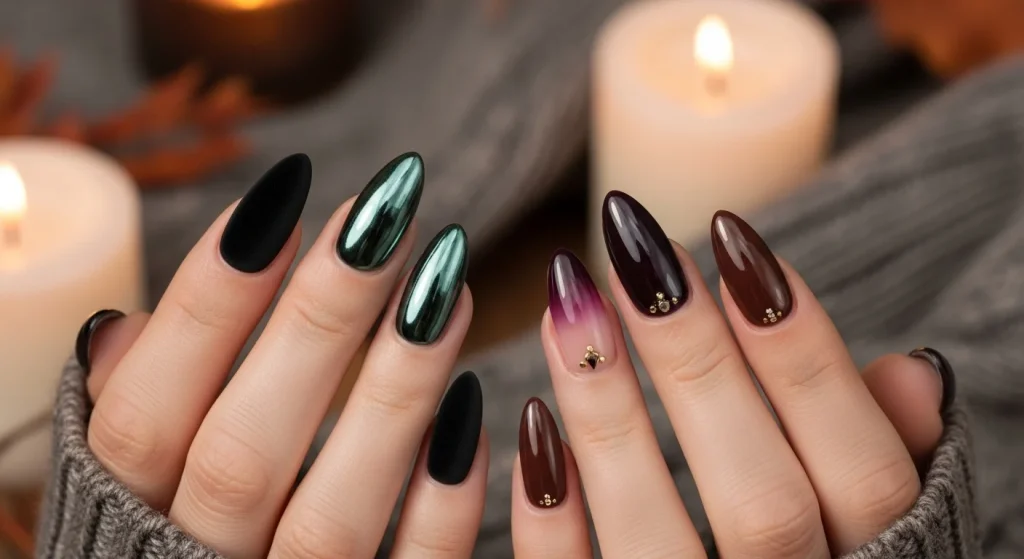
- Almond → requires nail length and symmetry.
- Coffin/Ballerina → trendy but fragile without extensions.
- Stiletto → dramatic, but not beginner-friendly.
💡 Pro Tip: If your nails chip often, avoid sharp corners. Rounded edges distribute pressure evenly.
👉 Not sure which shape suits your hands? Our nail shape guide works through finger length, nail bed width, nail strength and lifestyle.
Q: Which nail shape is the healthiest?
Round or squoval are the safest for beginners. They’re less likely to catch on things and put less stress on the nail plate.
🔹 Step 4: Buffing Without Overdoing It
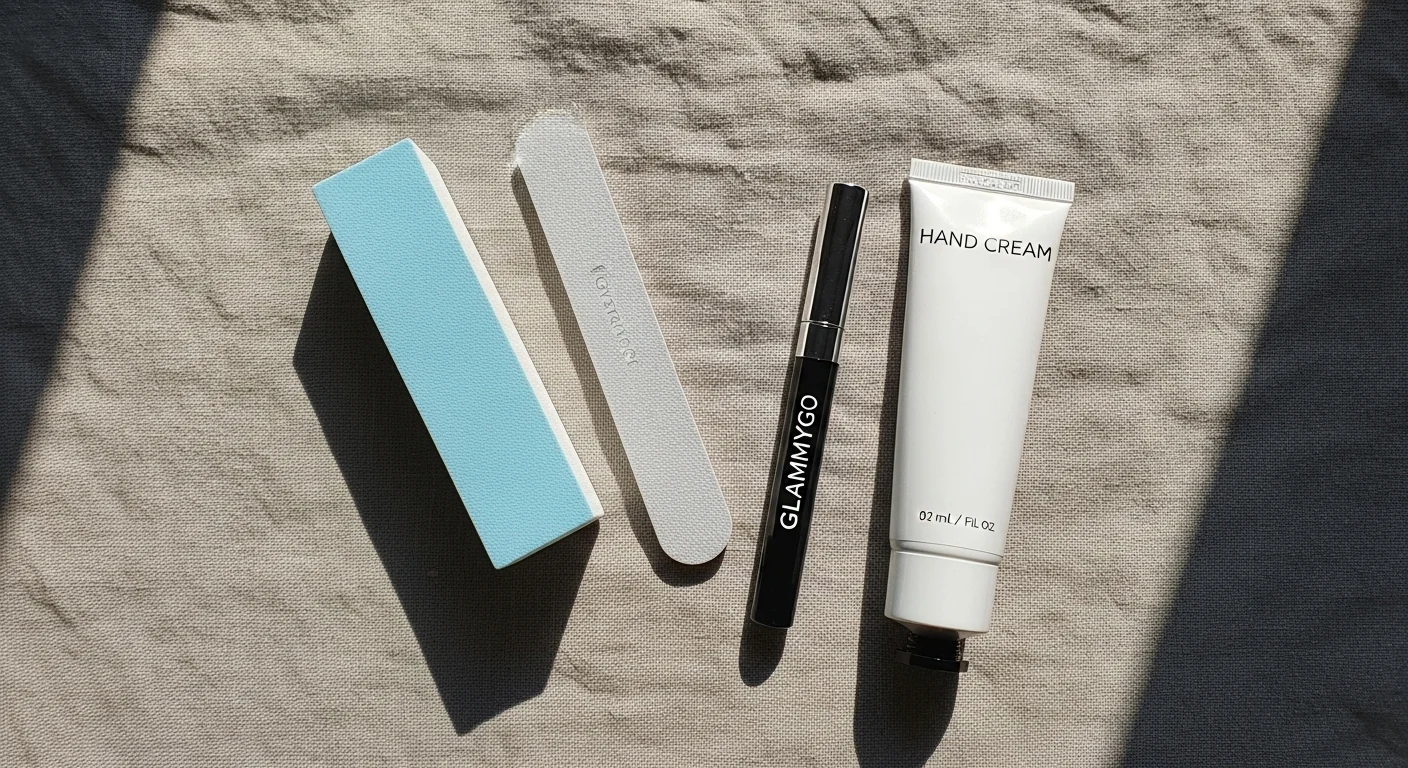
Buffing smooths ridges and gives nails a natural shine. But over-buffing = thinning.
- Use 400+ grit buffer only.
- Buff in one direction lightly.
- Limit to once every 2 weeks.
- Focus on the tip edges to prevent peeling.
💡 Pro Tip: Skip buffing if you wear polish regularly — your base coat will smooth ridges for you.
Q: Does buffing help nails grow?
Indirectly, yes. Buffing smooths surfaces and prevents peeling, which allows nails to grow without breaking.
🔹 Step 5: Seal With Nourishment
Shaping temporarily exposes nail layers. Seal in protection immediately.
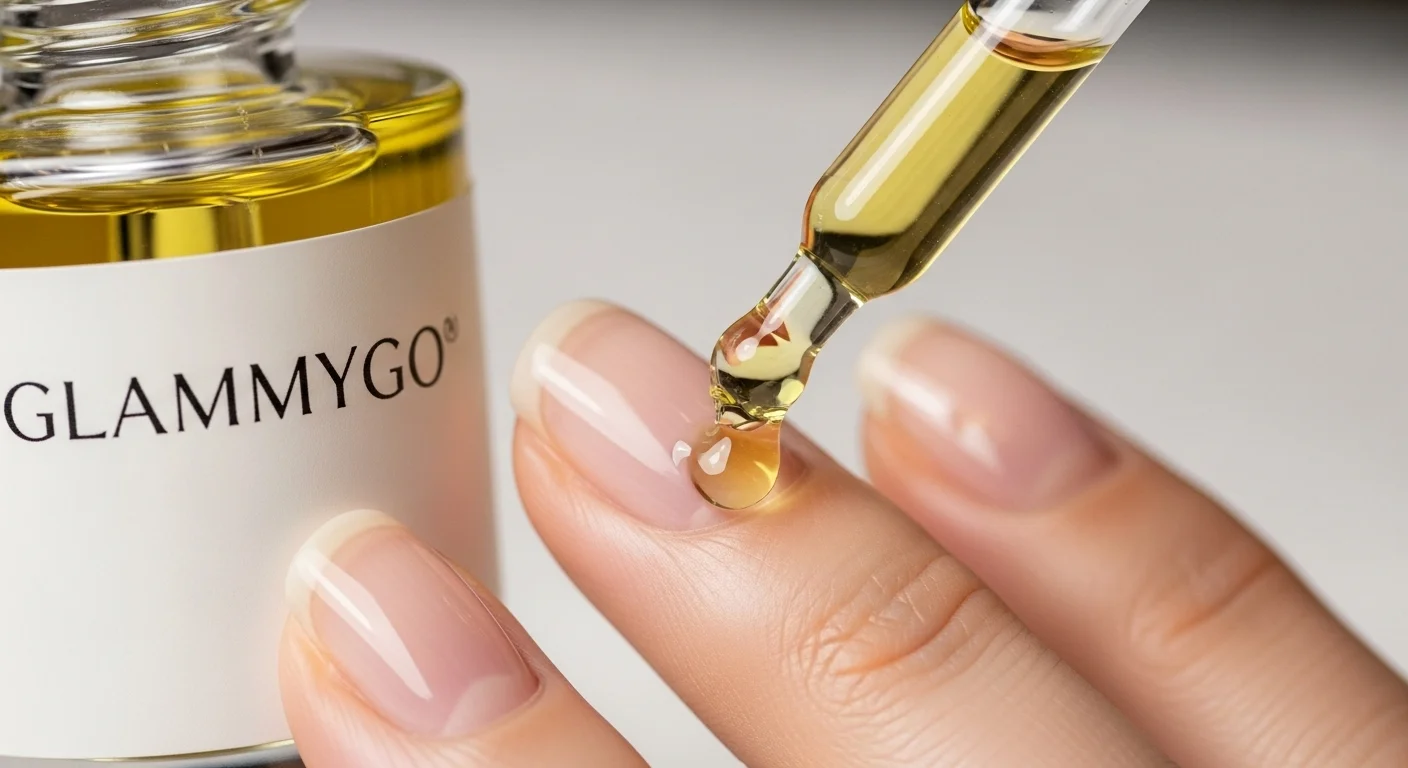
- Apply cuticle oil → jojoba or vitamin E.
- Massage into nail folds + cuticles.
- Follow with hydrating hand cream to lock it in.
💡 Pro Tip: Do this right after shaping AND before bed. Hydration is cumulative — the more consistent you are, the healthier your nails.
Q: Can I oil nails over polish?
Yes! Oil nourishes cuticles and skin, even with polish or gel on.
🔹 Common Beginner Mistakes to Avoid
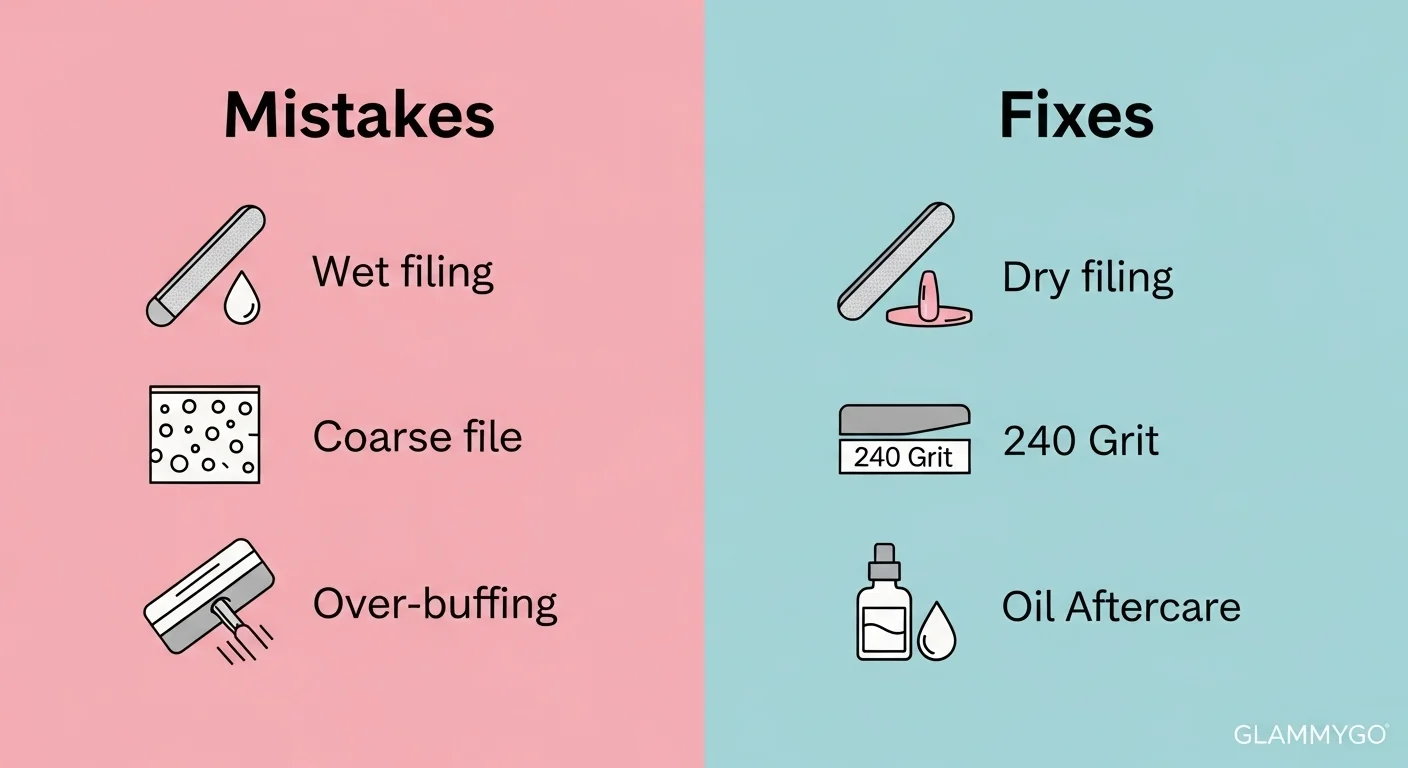
- Filing when nails are wet → leads to tearing.
- Using coarse files (<180 grit) → damages natural nails.
- Over-buffing → thins nails permanently.
- Forgetting aftercare → filing without oil = brittle nails.
- Chasing trendy shapes too soon → start with practical shapes first.
🌟 Wrap-Up
Filing and shaping nails safely isn’t glamorous, but it’s the foundation of every good manicure. With the right tools, gentle one-direction filing, and consistent aftercare, you’ll prevent splits and enjoy stronger, smoother nails.
Once you’ve nailed the basics, you’ll be ready to experiment with advanced styles like almond, coffin, or stiletto — without the fear of breakage.
👉 Next: learn how to change from one shape to another without breaking a nail, or put your new skills into a full salon-quality manicure at home.