Step-by-Step Guide to a Salon-Quality Manicure at Home

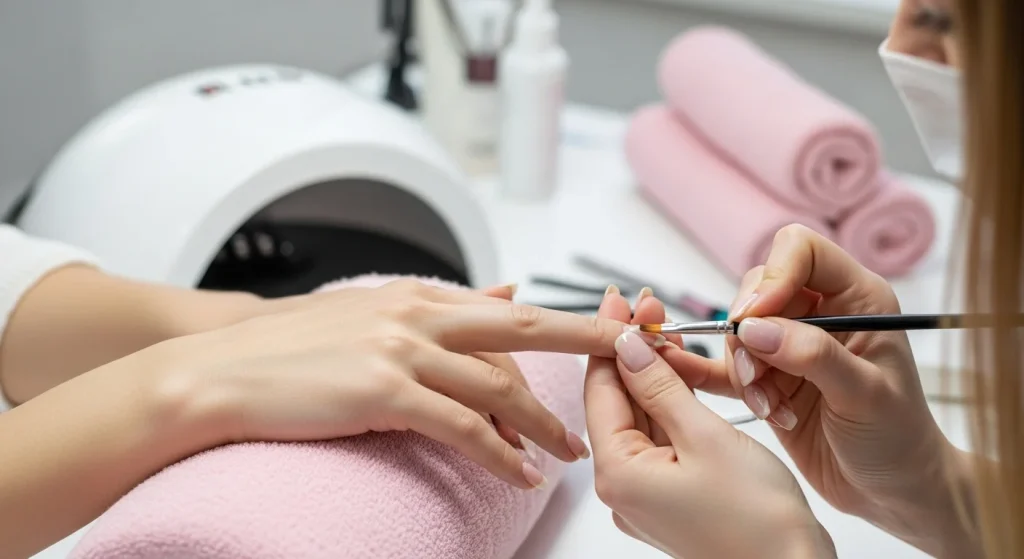
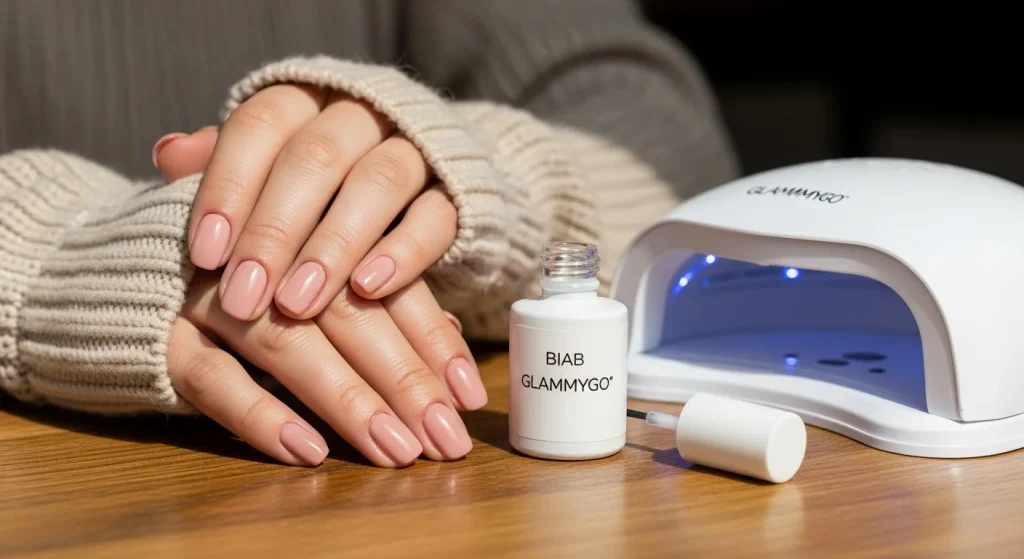
Let’s be honest, there’s nothing quite like the feeling of a fresh, flawless manicure. Your nails look polished, your hands feel elegant, and you walk a little taller. But a trip to the salon isn’t always on the cards. What if we told you that with a little patience and the right know-how, you can achieve that same professional look right from your own home? Yes, a manicure at home.
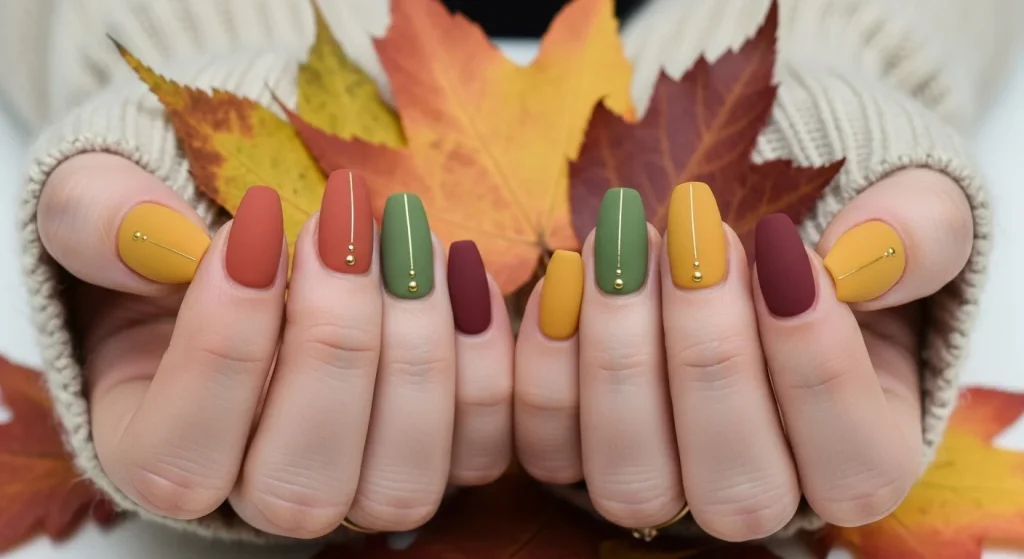
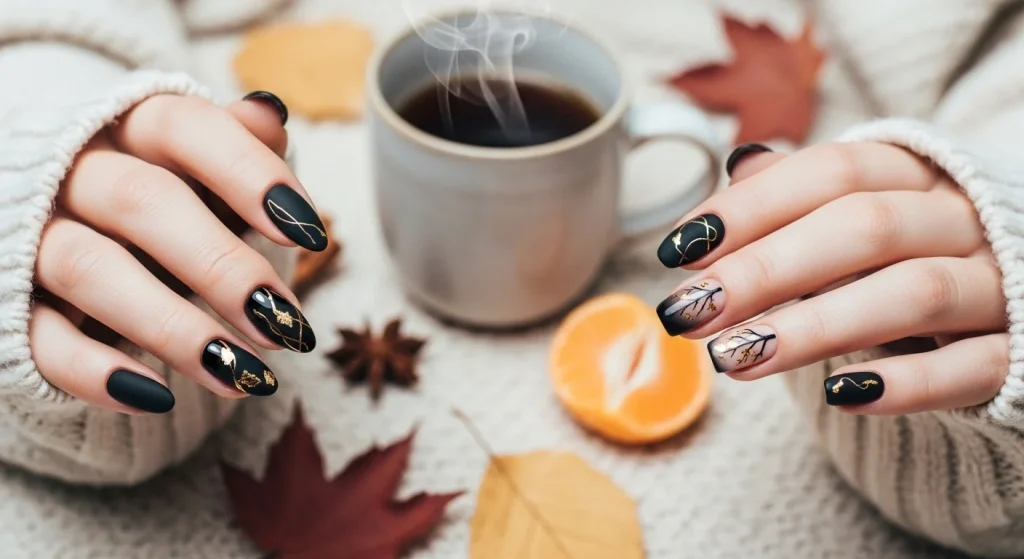
Here at Glammygo, we’re all about empowering you to be your own artist. We believe that with the right tools and techniques, a stunning manicure is just a few simple steps away. So grab a cup of tea, find a comfortable spot, and let’s get you on your way to a perfect salon-quality manicure at home. And if you’re looking for fresh design inspo once your nails are prepped, don’t miss our seasonal nail inspiration guide.
Step 1: Gather Your Tools
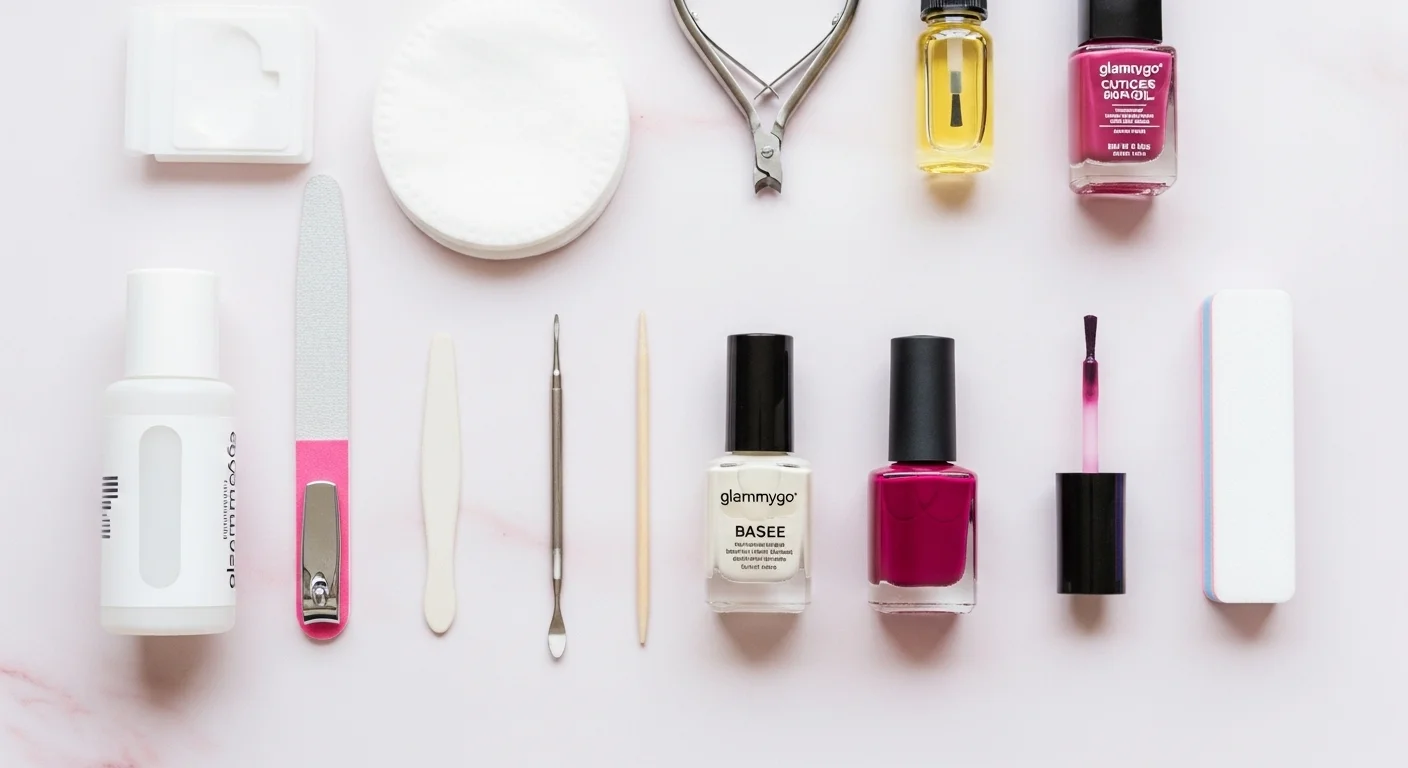
Before you start, make sure you’ve got everything within reach. Here’s what you’ll need:
- Nail polish remover (acetone-free is gentler)
- Cotton pads or reusable nail wipes
- Nail clippers
- Emery board or glass nail file
- Cuticle remover and pusher
- Nail buffer
- Hand scrub (optional)
- Base coat, polish, and top coat
- Cuticle oil and hand cream
✨ Pro Tip: Lay everything out neatly on a tray before starting—it makes the process smoother and more relaxing.
Step 2: Remove Old Polish & Clean the Nails
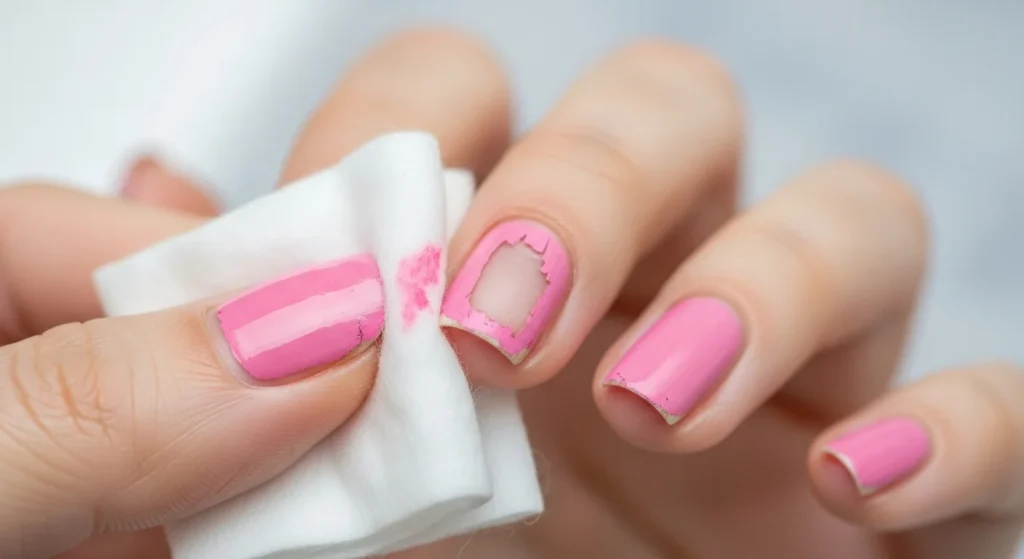
Start with a clean canvas. Use polish remover to get rid of any old color, even if it’s just a clear coat. Then wash your hands with warm, soapy water.
✨ Pro Tip: If your nails feel stained, try gently scrubbing them with a whitening toothpaste or lemon juice for a quick refresh.
Step 3: Trim, Shape & File
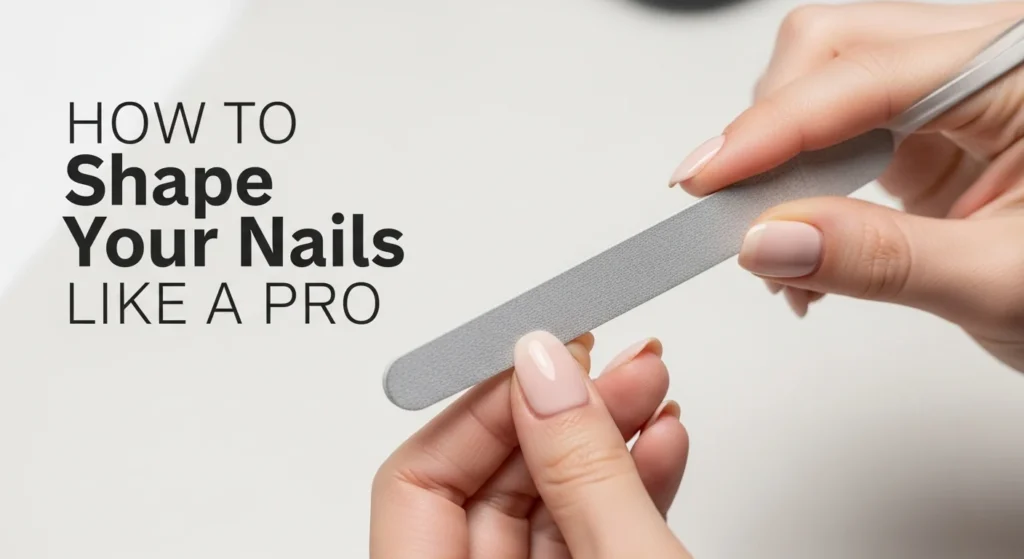
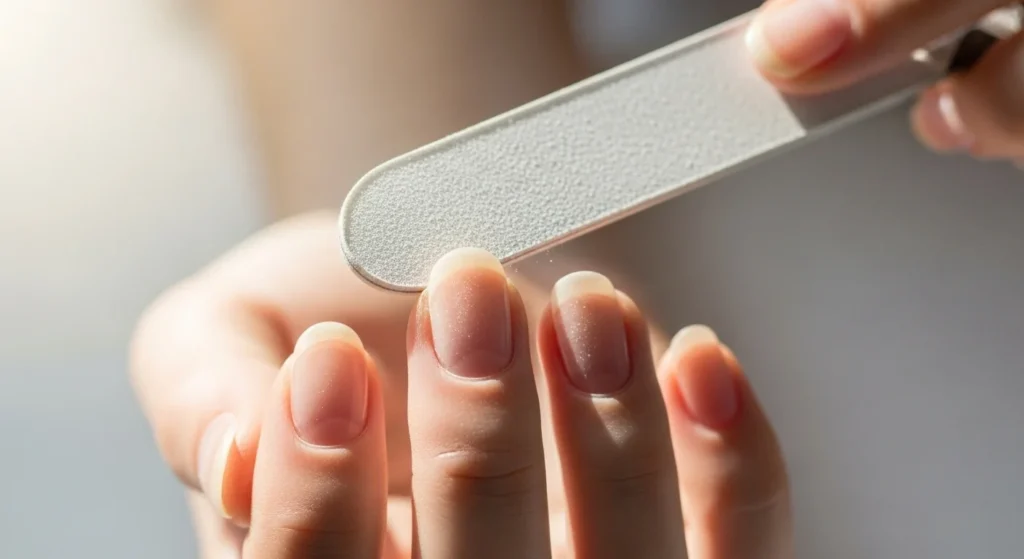
Decide what nail shape you want (round, squoval, almond, etc.) and trim your nails to the desired length. Then file in one direction only (never saw back and forth—it weakens nails).
✨ Pro Tip: A glass file is gentler and gives a smoother edge.
Step 4: Soak & Soften
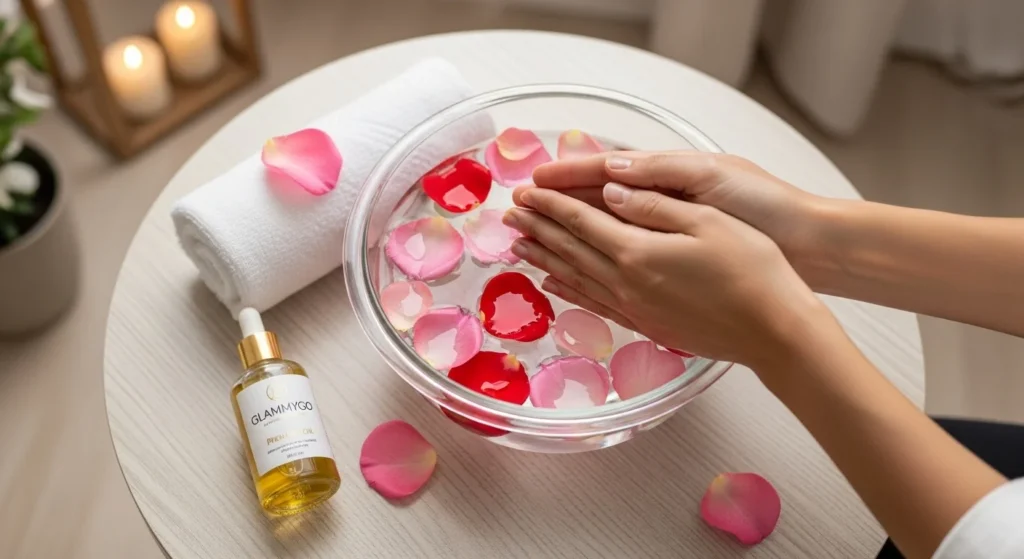
Soak your hands in a bowl of warm, soapy water for 5 minutes. This softens cuticles and feels instantly relaxing. You can add a few drops of essential oil for a spa-like touch.
Step 5: Care for Your Cuticles
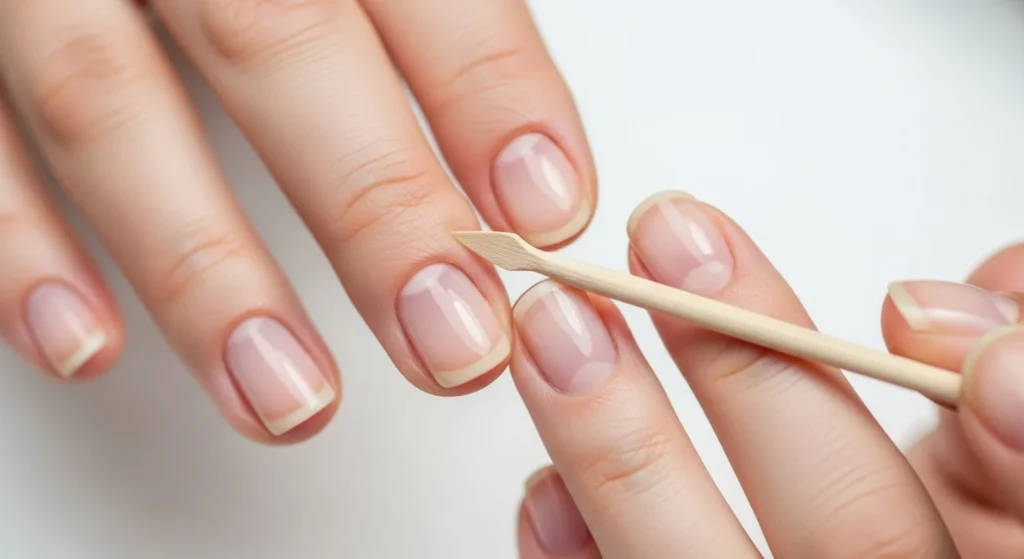
Apply cuticle remover around each nail and gently push back cuticles with a wooden or metal pusher. Don’t cut them unless absolutely necessary—healthy cuticles protect against infection.
✨ Pro Tip: Massage a little cuticle oil right after pushing them back for hydration.
Step 6: Buff for a Smooth Surface
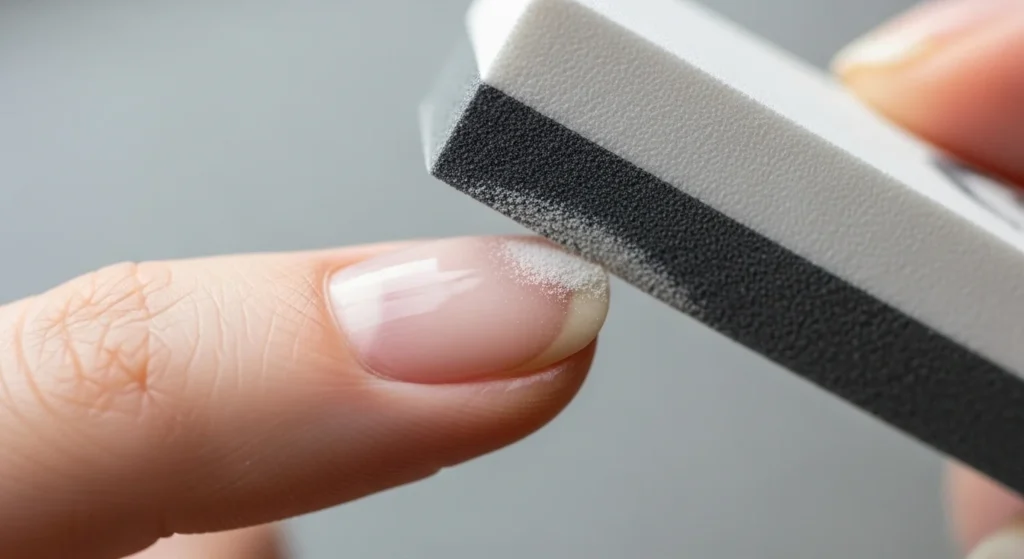
Use a nail buffer to smooth ridges and give your nails a natural shine. Be gentle—buffing too often can thin nails.
Step 7: Moisturize & Prep for Polish
Massage hand cream into your skin and cuticle oil into your nail beds. Wipe nails with a little polish remover afterward to remove oils—this helps polish last longer.
✨ Pro Tip: Don’t skip the hydration step. It makes your manicure look healthier and your hands feel pampered.
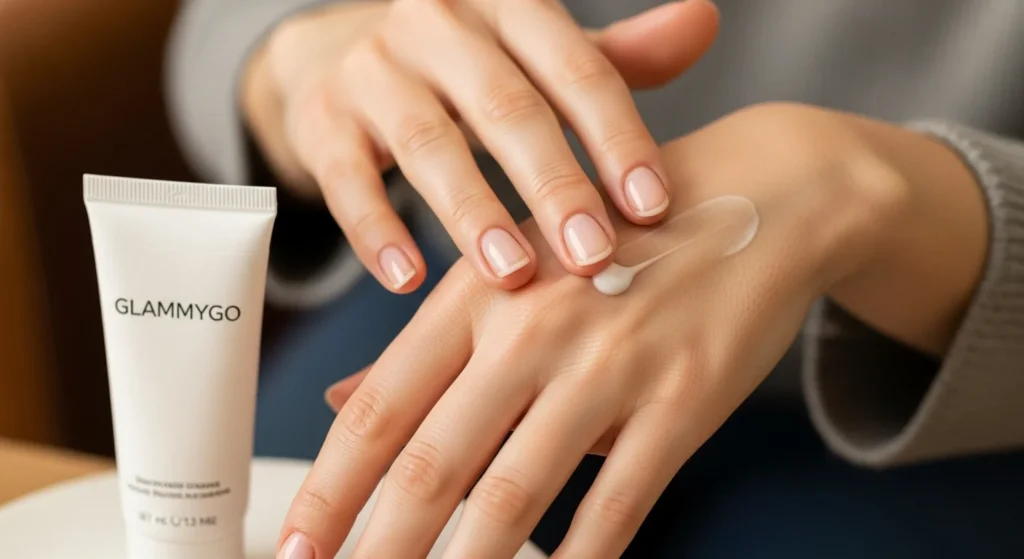
Step 8: Apply Base Coat
A base coat is like primer for your nails—it protects against staining and helps polish grip better.
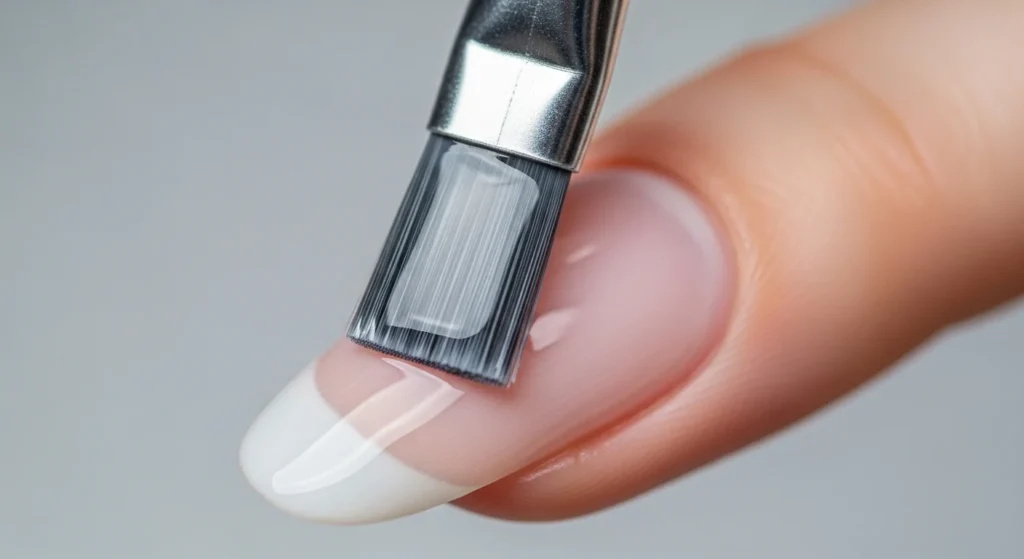
Step 9: Polish Like a Pro
Apply your chosen polish in thin layers:
- One stroke down the middle.
- One stroke on each side.
- Cap the free edge for extra chip resistance.
Two thin coats are better than one thick one.
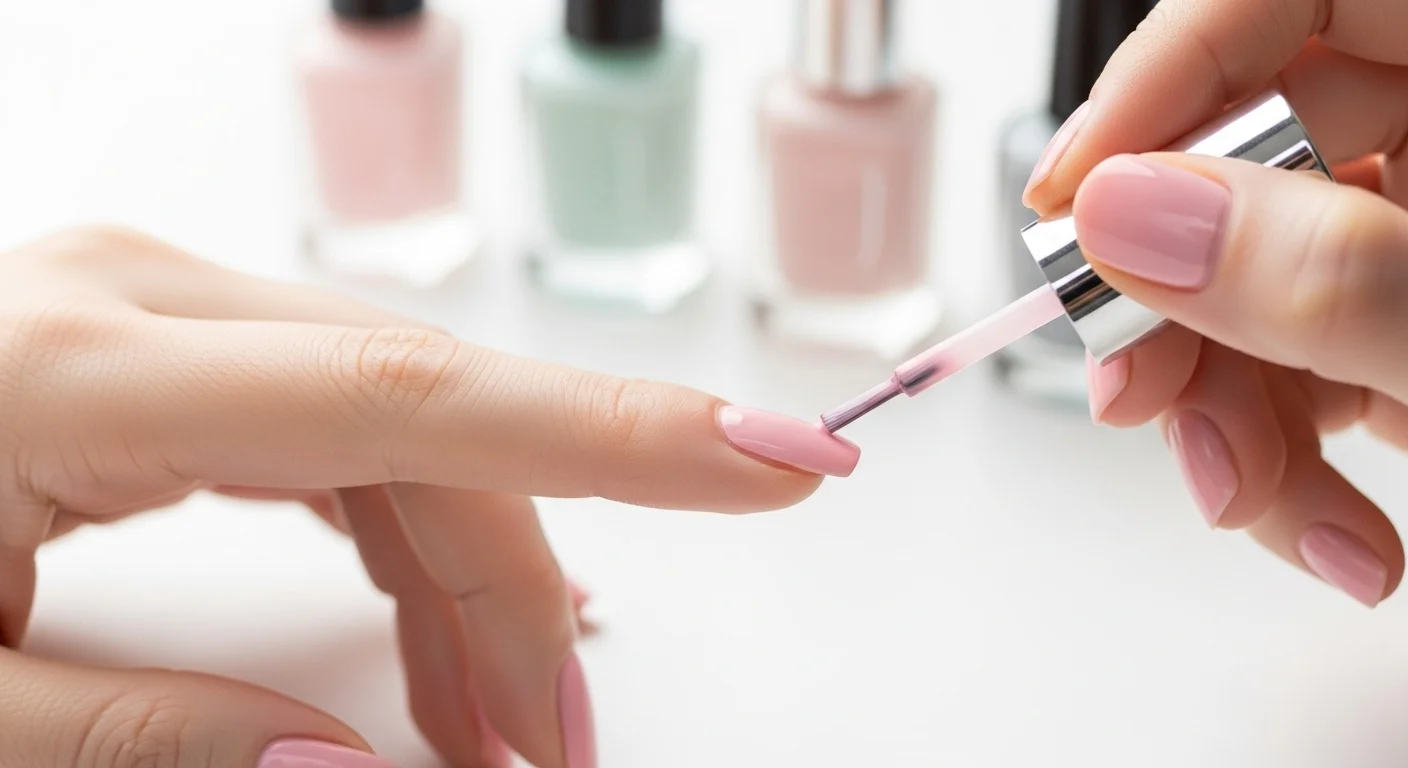
Step 10: Seal with Top Coat
Lock in your manicure with a glossy (or matte) top coat. It adds shine, smooths everything out, and keeps chips at bay.
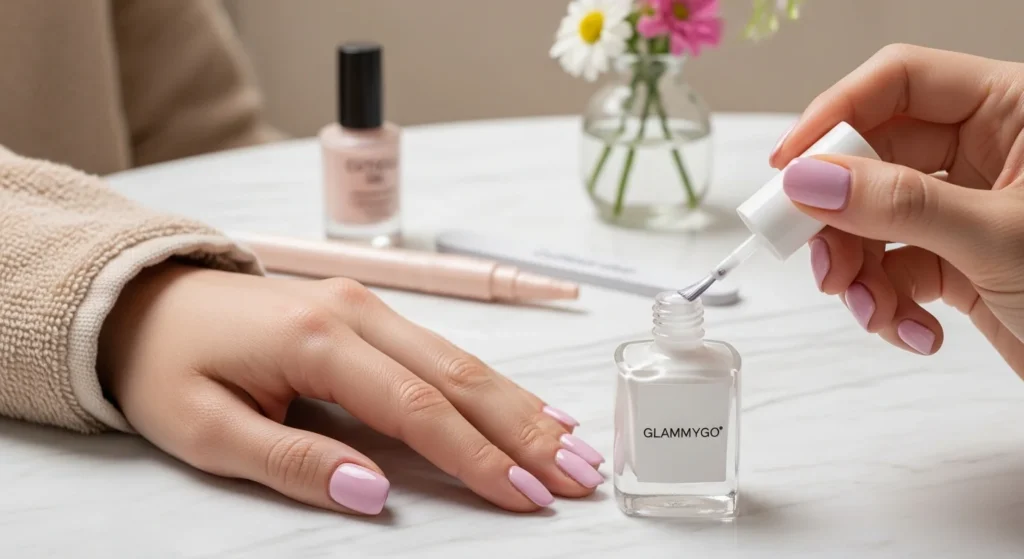
Step 11: Finishing Touches
Let your nails dry completely (at least 15 minutes) and avoid rushing. Once dry, add a final touch of cuticle oil for that salon finish.
✨ Pro Tip: If you’re in a hurry, dip your nails in ice water for a couple of minutes—it helps polish set faster.
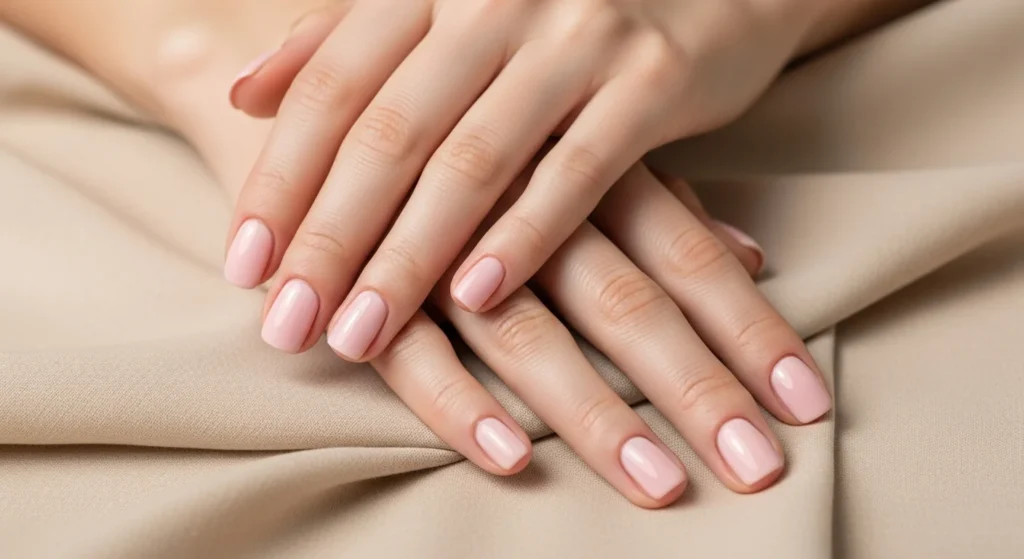
Bonus: Quick Fixes & Long-Lasting Tips
- Always wear gloves when washing dishes or cleaning.
- Refresh shine every 2–3 days with a thin layer of top coat.
- Reapply cuticle oil daily—it makes a huge difference.