How to Remove Acrylic Nails Without Acetone (Safely at Home)

Acrylic nails can look beautiful for weeks, but removing them with harsh acetone is not always ideal for everyone.
Some people avoid acetone because it can leave nails and cuticles feeling extremely dry, sensitive, or brittle afterward. Others simply want a gentler way to remove acrylic nails at home without the strong smell and heavy dehydration that acetone often causes.
The good news is that you can remove acrylic nails without acetone.
The important thing to understand is that acetone-free removal works more slowly. Instead of rapidly dissolving the acrylic, gentler methods gradually soften lifting points and weaken the bond over time.
If you’ve ever removed acrylics and ended up with thin or peeling nails afterward, you’re definitely not alone. In many cases, nail damage happens during aggressive removal — especially from peeling, forcing, or overfiling acrylic before it is ready to lift safely.
In this guide, you’ll learn the gentlest way to remove acrylic nails without acetone, which methods actually work, and which DIY hacks are more damaging than helpful.
Can You Remove Acrylic Nails Without Acetone?
Yes — but patience is essential.
Acrylic nails bond tightly to the natural nail plate, so they cannot safely “pop off” without softening first.
Acetone works quickly because it breaks down the acrylic structure rapidly. Acetone-free methods work differently. They slowly loosen lifting points and soften the acrylic over time instead of fully dissolving it.
That slower process is one reason many people prefer acetone-free removal, especially if they:
- have dry or sensitive skin,
- dislike the strong smell of acetone,
- or want a gentler removal experience overall.
Nail Tech Tip
If acrylic feels firmly attached, it usually needs more soaking time — not more force.
Acetone vs Non-Acetone Removal
Factor | Acetone | Non-Acetone |
|---|---|---|
Speed | Faster | Slower |
Nail Dryness | Higher | Lower |
Skin Irritation | More common | Less common |
Best For | Fast salon-style removal | Gentle DIY removal |
Acetone-free methods prioritize nail comfort and lower dehydration over speed.
If you want the fastest salon-style removal method, read our guide on how to remove acrylic nails at home safely.
What You’ll Need
Before starting, gather your supplies first so you are not rushing midway through removal.
Supplies
- Nail clippers
- Nail file (180 grit)
- Fine nail buffer
- Orangewood stick
- Bowl of warm water
- Mild dish soap
- Jojoba oil, olive oil, or cuticle oil
- Hand cream or moisturizer
- Soft towel
Optional:
- Foil wraps
- Petroleum jelly around skin
The Gentlest Way to Remove Acrylic Nails Without Acetone
The safest acetone-free method combines:
- warm water,
- soap,
- oil,
- gentle filing,
- and slow lifting.
This process takes longer than acetone removal, but it places far less stress on the natural nail when done patiently.
Instead of trying to force the acrylic off quickly, the goal is to soften it gradually until it lifts more easily on its own.
Start by Reducing the Acrylic Thickness
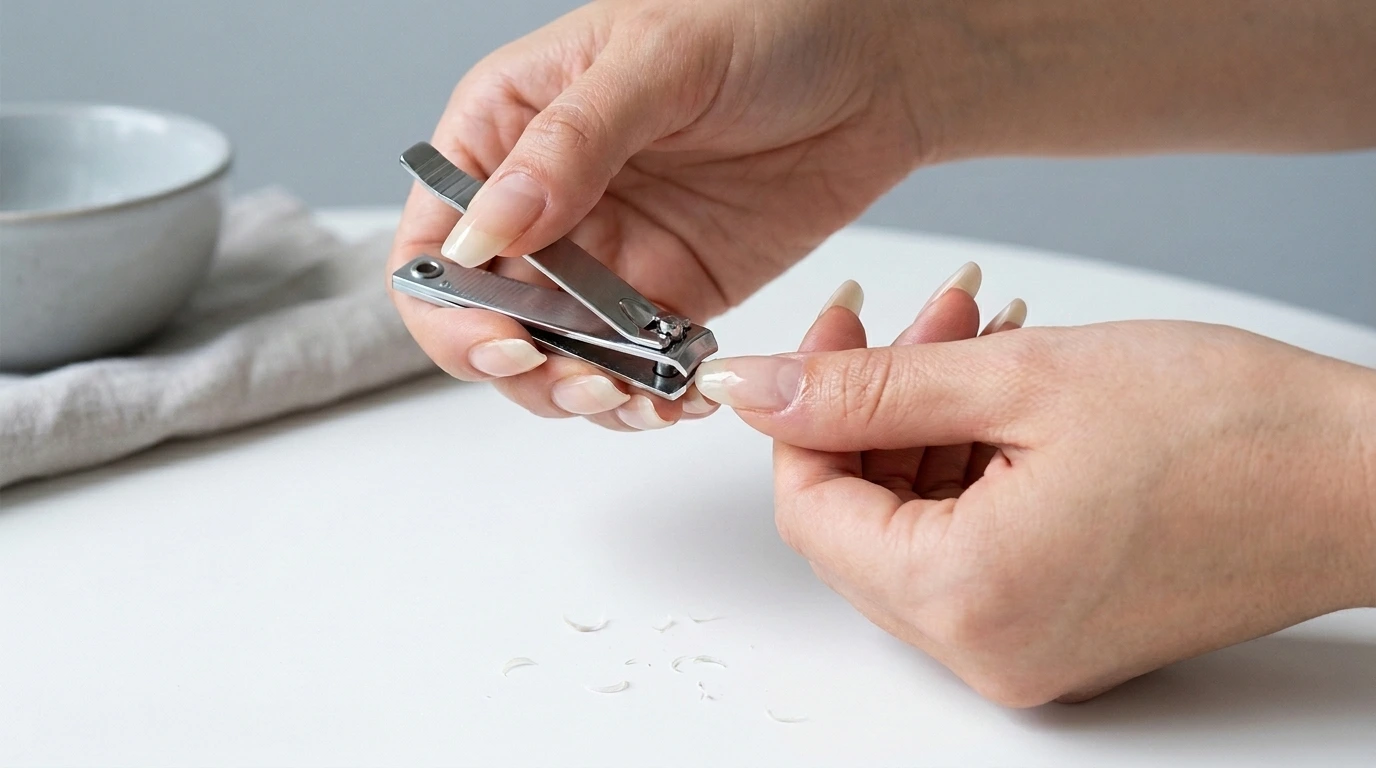
Begin by trimming the acrylic nails shorter.
This helps reduce bulk and makes soaking more effective.
Next, gently file away the shiny topcoat and thin the acrylic slightly. You do not need to file the acrylic completely off.
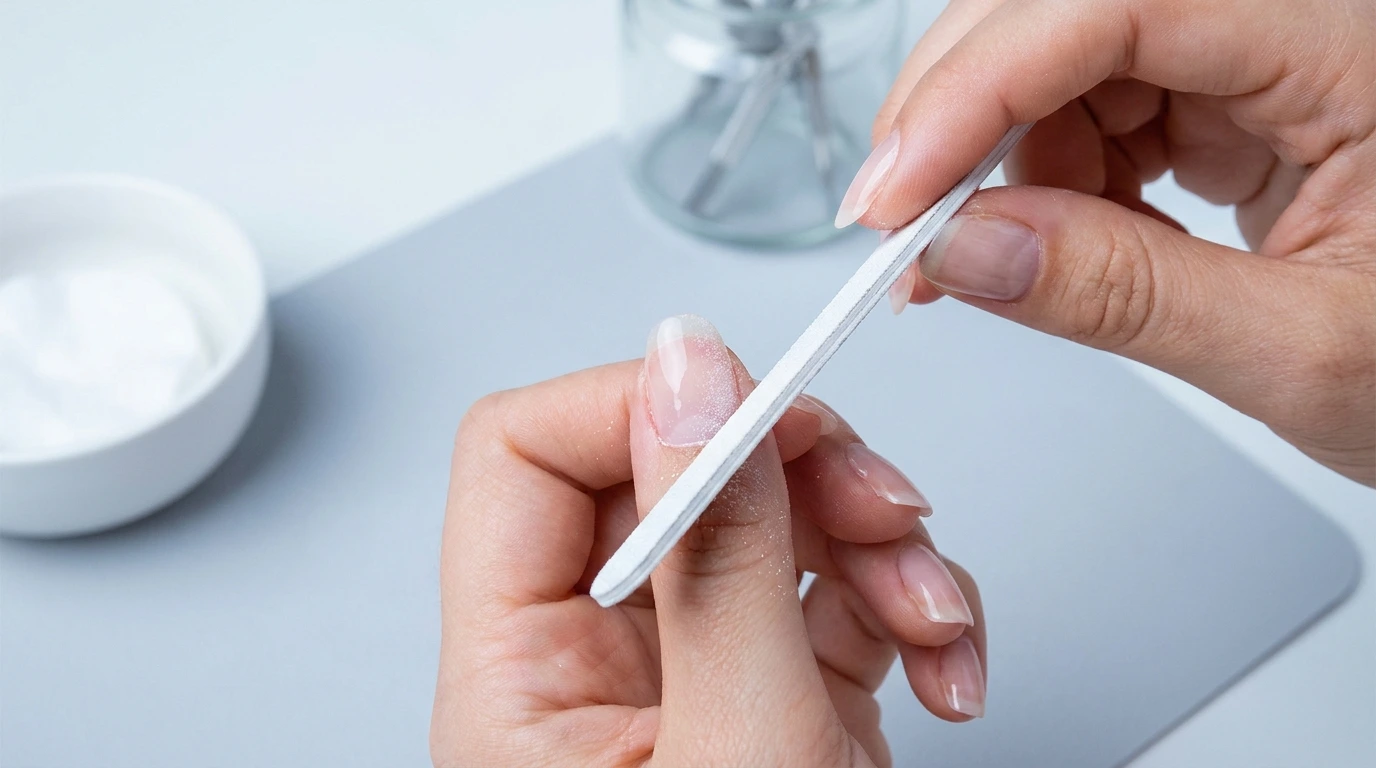
The goal is simply to help moisture penetrate the acrylic more effectively.
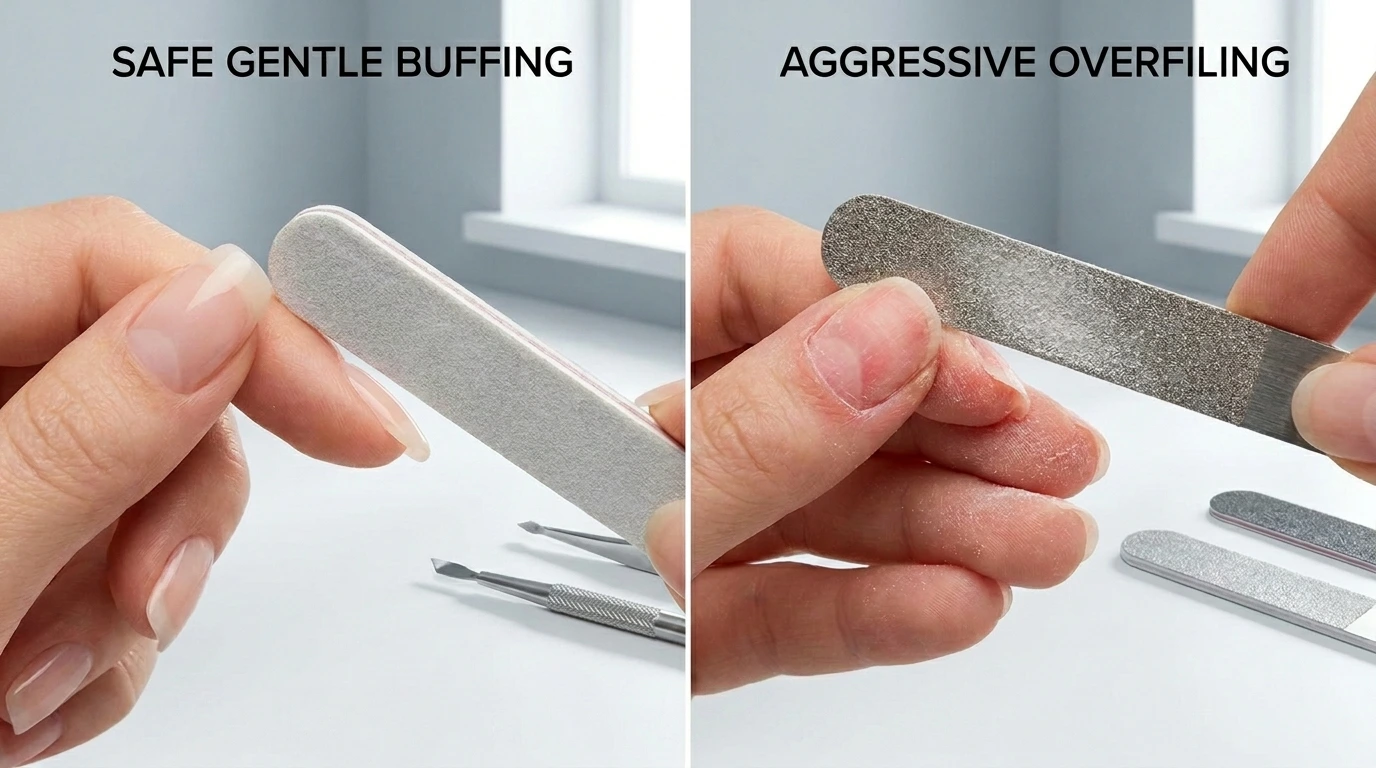
Warning
Stop filing immediately if:
- heat develops,
- pain appears,
- or the natural nail becomes visible.
One of the biggest causes of post-removal nail thinning is aggressive overfiling during prep.
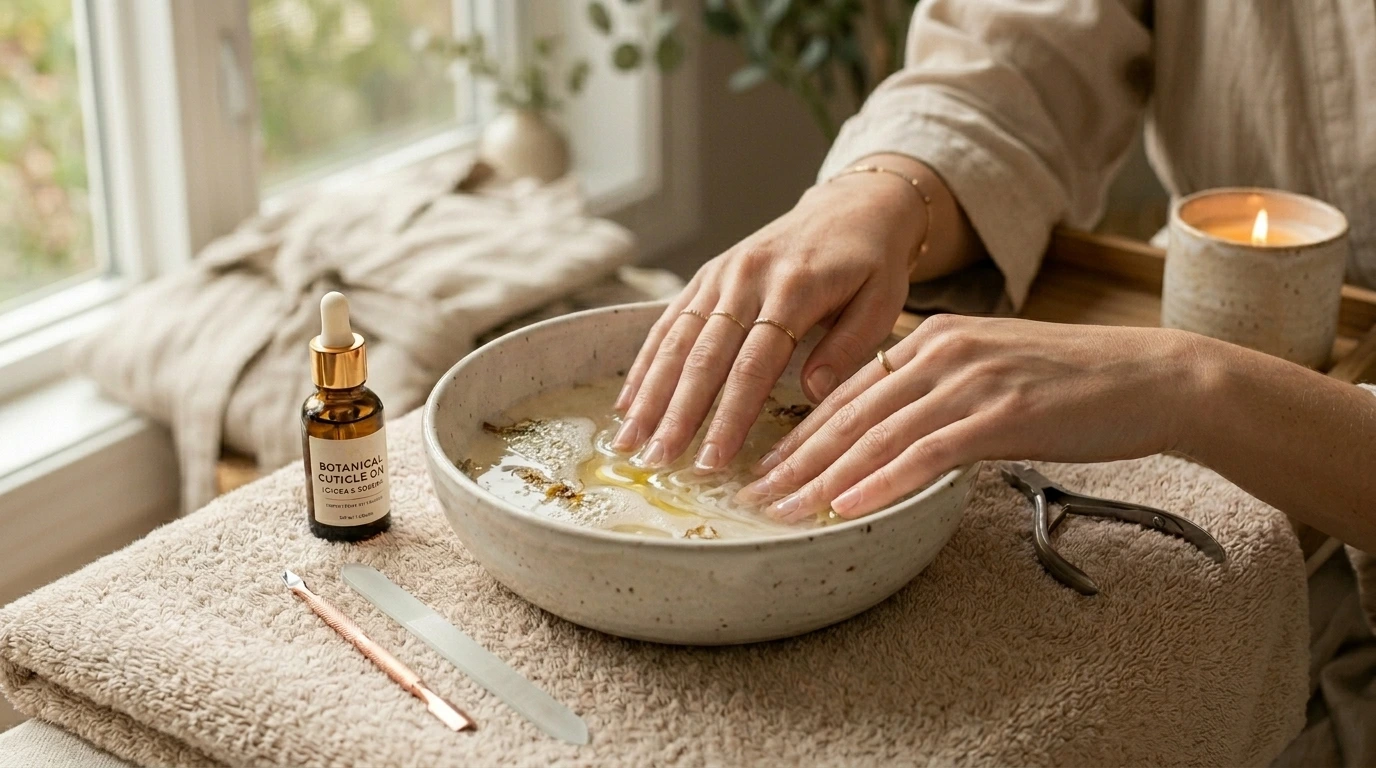
Soak Nails in Warm Water, Soap, and Oil
Fill a bowl with warm water and add:
- a few drops of mild dish soap,
- and a few drops of cuticle oil, olive oil, or jojoba oil.
Soak your nails for 30–45 minutes.
The warm water helps loosen the acrylic bond gradually, while the oil helps reduce dryness around the nail plate and cuticles.
Some thicker acrylic sets may require multiple soaking rounds.
Common Mistake
Trying to pry acrylic off too early is one of the fastest ways to damage natural nails.
How to Tell When the Acrylic Is Ready
As the acrylic softens, it may:
- feel slightly gummy,
- lift around the edges,
- or move with less resistance.
That is usually a sign the bond is weakening.
If the nail feels painful or firmly attached, continue soaking longer instead of forcing it.
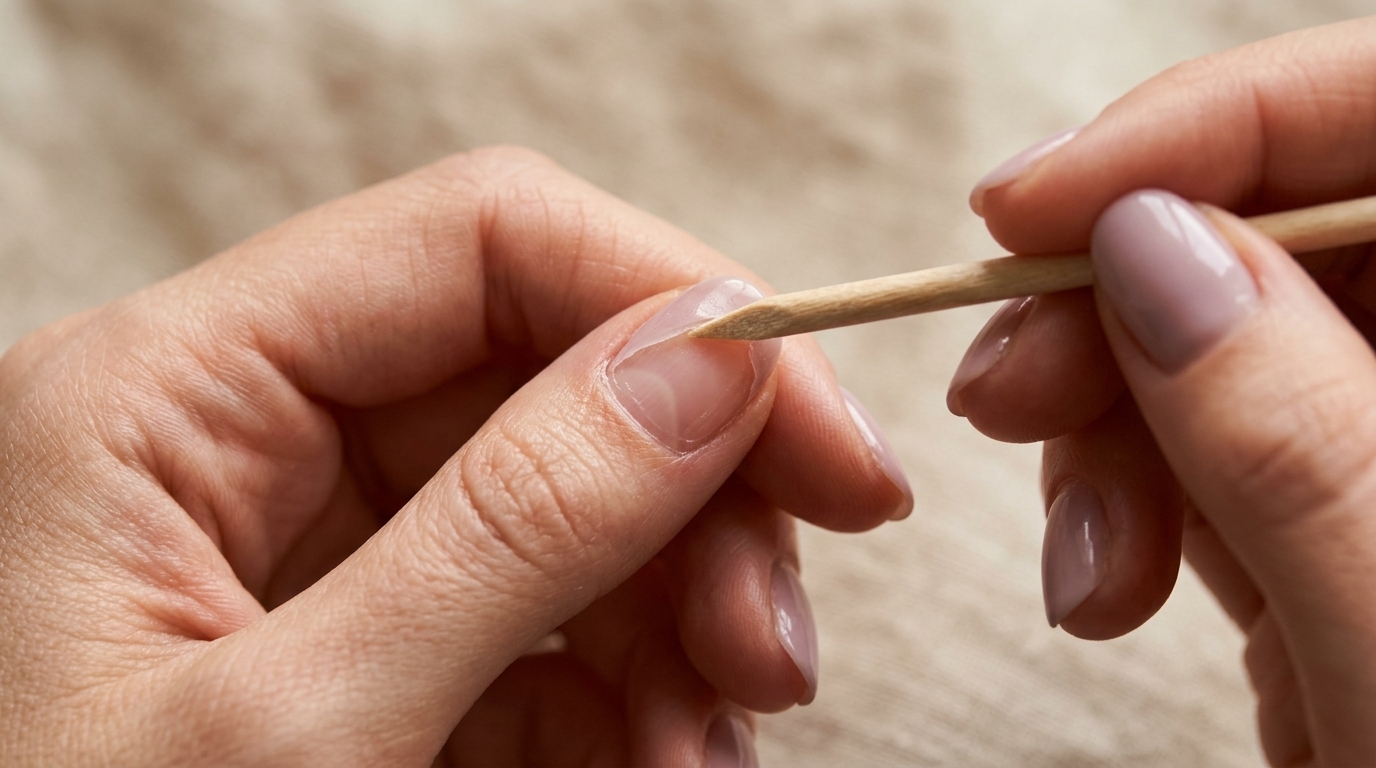
Gently Lift the Acrylic
Use an orangewood stick to carefully lift softened edges.
Work slowly around the nail instead of trying to remove the entire acrylic piece at once.
If resistance remains, stop and soak again.
Why Peeling Acrylic Damages Nails
Natural nails are made of thin keratin layers. Peeling acrylic off before it softens properly can pull away those layers, leaving nails weak, rough, or sensitive afterward.
Buff Away Remaining Residue
Once most of the acrylic has lifted, use a fine nail buffer to smooth away leftover residue.
Use light pressure only.
You are smoothing the surface — not thinning the natural nail underneath.
Rehydrate Your Nails Immediately
After removal, apply:
- cuticle oil,
- jojoba oil,
- and hand cream.

Hydration helps restore flexibility and reduce post-removal dryness.
If your nails feel slightly weak afterward, that is usually temporary and improves with gentle care.

Other Acetone-Free Methods
Non-Acetone Nail Polish Remover
Acetone-free nail polish removers can soften acrylic, but they work more slowly than pure acetone.
This method usually works best after thinning the acrylic first with a file.
Expect soaking sessions to take around 30–45 minutes or longer depending on the thickness of the acrylic.
Oil and Foil Wrap Method
This method uses oil-soaked cotton wrapped with foil to trap warmth around the nail.
It can be a gentler option for people with dry or sensitive nails because it keeps the nail surrounded by moisture during the softening process.
DIY Acrylic Removal Hacks to Avoid
Some viral DIY methods can seriously damage natural nails.
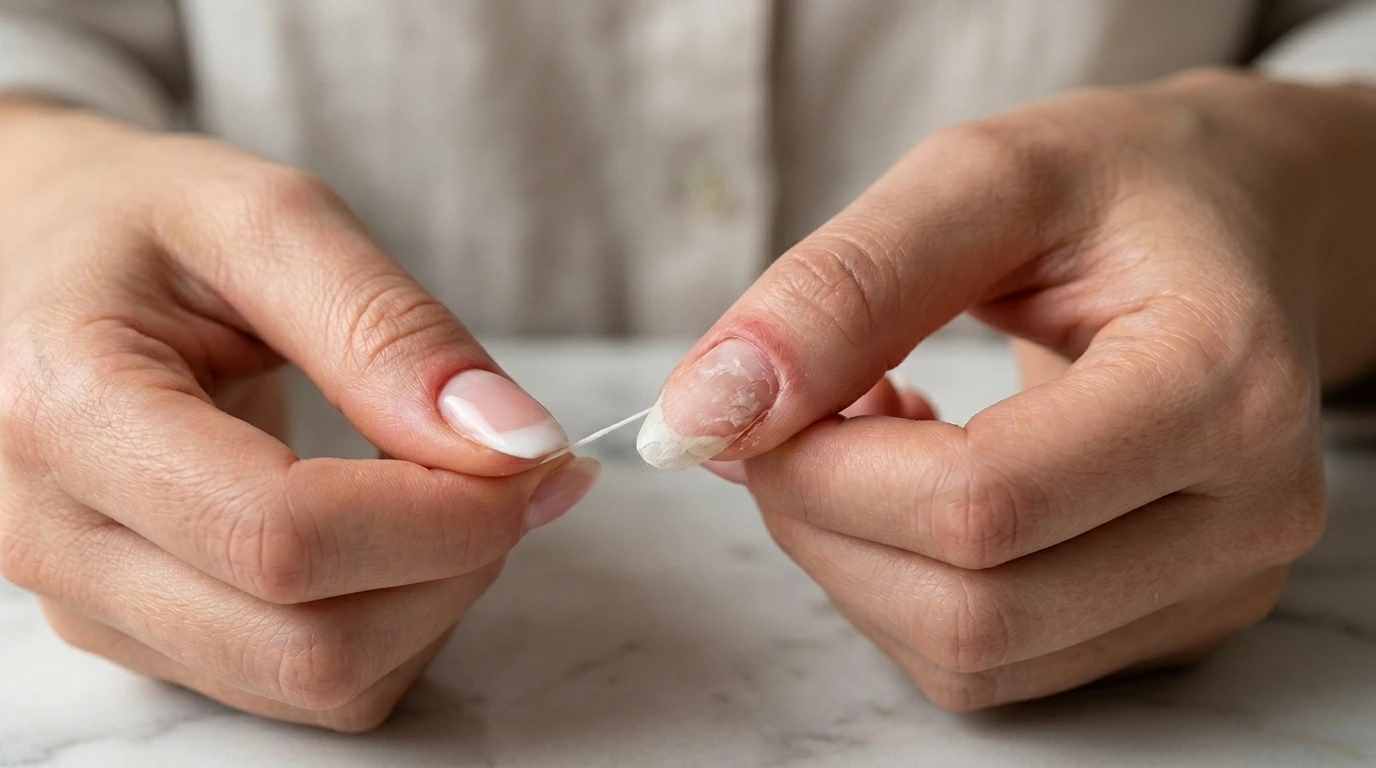
Dental Floss Method
Dental floss can forcefully separate acrylic from the natural nail and may remove keratin layers along with it.
This can leave nails:
- thin,
- sore,
- peeling,
- or weak afterward.
Credit Card Method
Using a card to pry acrylic off creates pressure between the acrylic and natural nail.
If the acrylic has not softened enough first, this can damage the nail plate underneath.

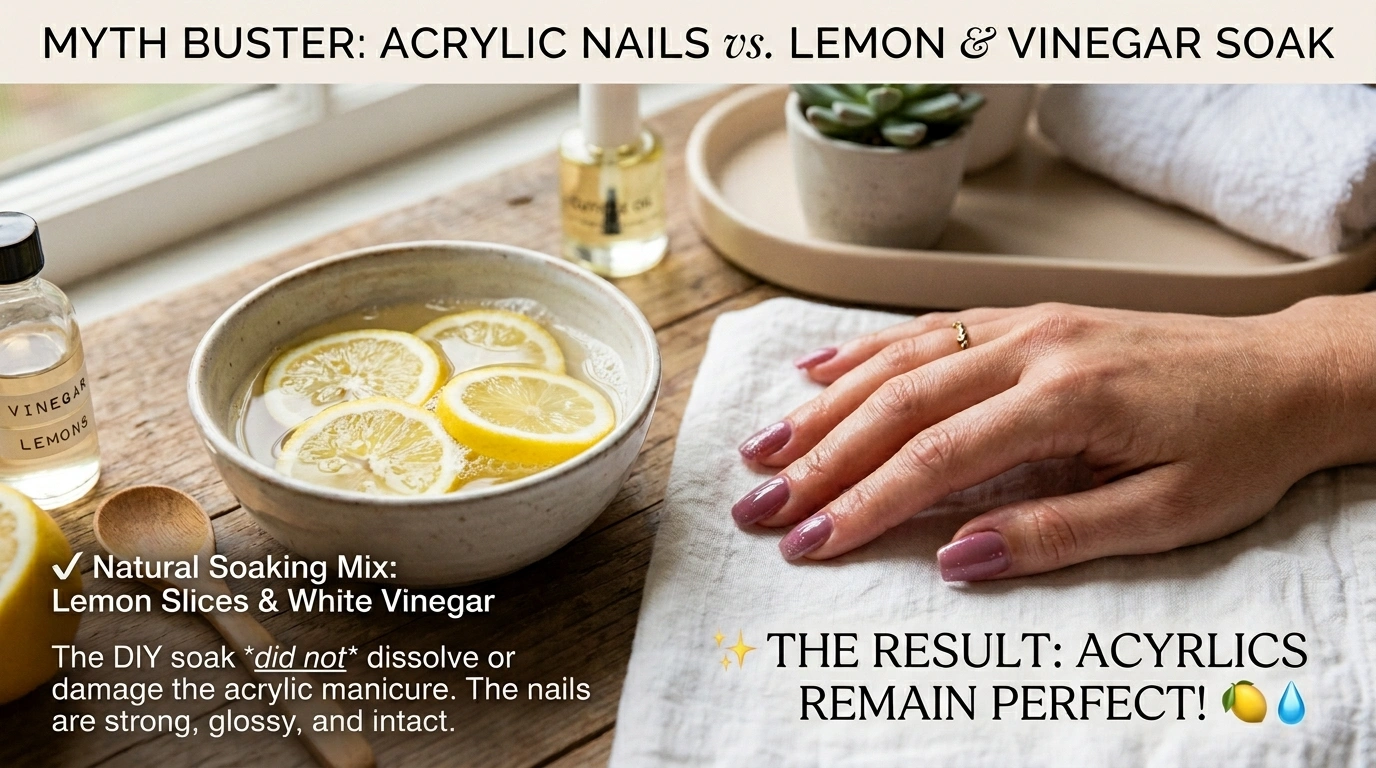
Vinegar and Lemon Juice Myths
Vinegar and lemon juice are often described online as “natural acrylic removers,” but they do not effectively dissolve hardened acrylic.
If these methods seem to work, it is usually because prolonged soaking softens lifting points — not because the acid itself breaks down acrylic.
Why Some Acrylic Nails Are Harder to Remove
Not all acrylic sets remove equally.
Removal may take longer if:
- the acrylic was freshly applied,
- the set is very thick,
- or MMA-based acrylic products were used.
Some MMA acrylic systems bond extremely aggressively and are often safer to remove professionally.
Older acrylic sets usually loosen more easily than fresh applications. Here’s what affects how long a full set of acrylic nails takes and how long they typically last.
Who Should Choose Acetone-Free Removal?
Acetone-free removal may be a better option for people who:
- have dry or sensitive skin,
- dislike strong acetone smell,
- experience irritation from acetone,
- or simply prefer a gentler removal process.
It may also feel less harsh for people trying to minimize post-removal dryness around the nails and cuticles.
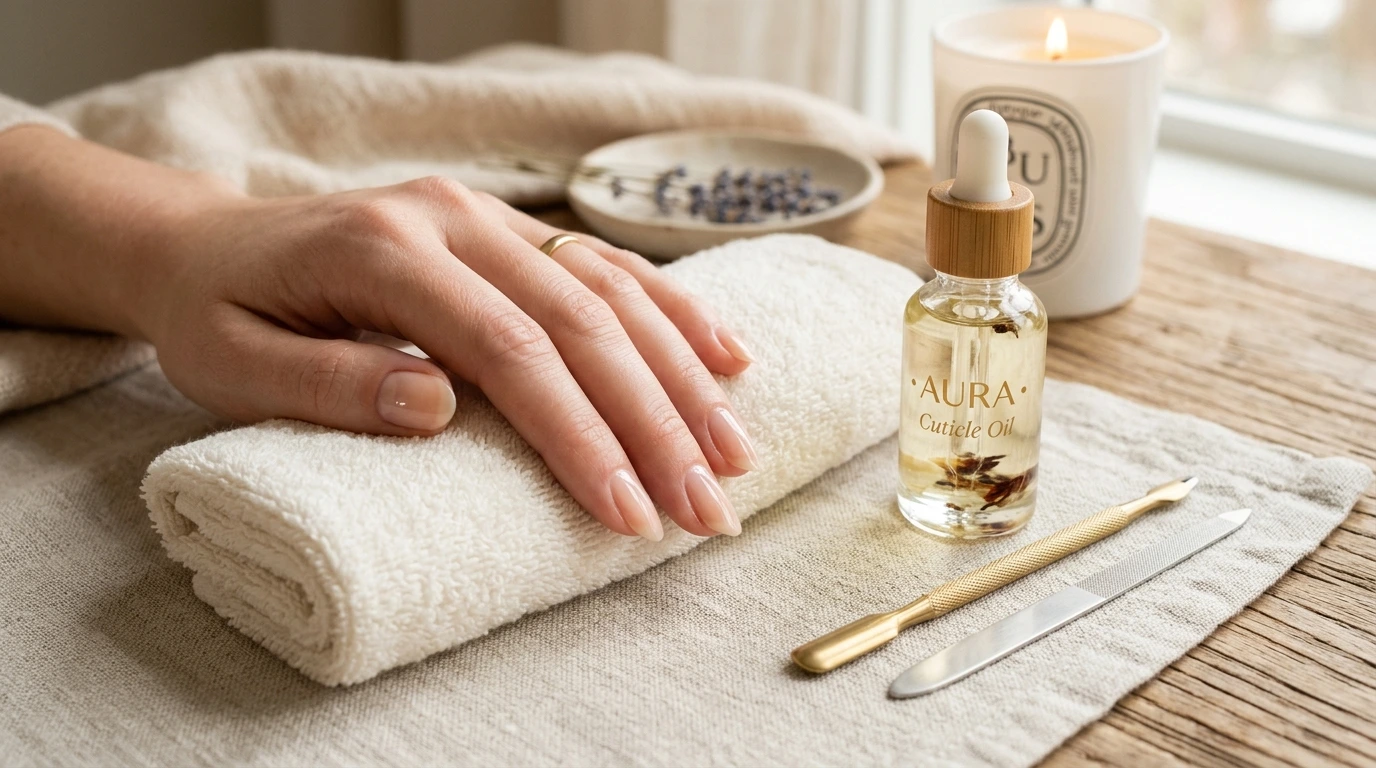
How to Care for Nails After Acrylic Removal
Even gentle removal can temporarily leave nails feeling dry or weak.
Simple Aftercare Tips
- Keep nails short for a few days
- Apply cuticle oil daily
- Use hand cream regularly
- Avoid aggressive buffing
- Take a short break before applying acrylics again
Nail Tech Tip
Consistent hydration usually helps nails recover faster than heavy buffing or harsh strengthening products.
When to See a Professional
DIY removal may not be the best option if you notice:
- severe pain,
- bleeding,
- green discoloration,
- nail lifting,
- or acrylic that refuses to soften.
In those situations, professional removal is usually safer.
Frequently Asked Questions
Final Thoughts
Removing acrylic nails without acetone takes more time, but it can also be much gentler on your natural nails when done correctly.
The safest approach is slow, patient removal — not force.
By softening the acrylic gradually, avoiding aggressive peeling, and restoring hydration afterward, you can remove acrylic nails at home while keeping your natural nails healthier and more comfortable in the long run.