Nail Wraps: The Complete 2026 Guide (What They Are, Types & How to Use Them)

Nail wraps have become one of the fastest-growing trends in the beauty world — and for good reason. They’re affordable, easy to apply, beginner-friendly, and perfect for anyone who wants beautiful nails without spending hours in a salon. Whether you’re searching for long-lasting semi-cured gel wraps, classic silk wraps, or fun polish-strip designs for everyday wear, this is the ultimate guide to everything you need to know.
In this in-depth article, you’ll learn:
- What nail wraps are
- How they work
- Different types of nail wraps (and which last longest)
- How to apply them step-by-step
- How to remove them safely
- How to fix bubbles, peeling, and lifting
- Best wrap brands for 2026
- How to make your wraps last 2–3 weeks
- DIY nail wrap methods (vinyl, gel, Cricut, etc.)
Let’s get started.
What Are Nail Wraps?
Nail wraps are thin, flexible coverings made from materials like polish strips, gel, silk, fiberglass, or vinyl. They are applied directly onto your natural nails to add color, strength, protection, or design — without using traditional liquid polish.
Unlike nail polish, wraps require no drying time, come pre-designed, and often last longer with less effort.
What Nail Wraps Are Used For:
- Creating salon-quality nail designs at home
- Strengthening weak or damaged nails (silk/fiberglass)
- Quick manicures for busy lifestyles
- Kid-friendly manicures with no chemicals
- Achieving trendy patterns perfect for holidays or events
- Extending nail durability without gels or acrylics
Nail wraps are ideal for beginners, professionals, or anyone wanting beautiful nails without damage.
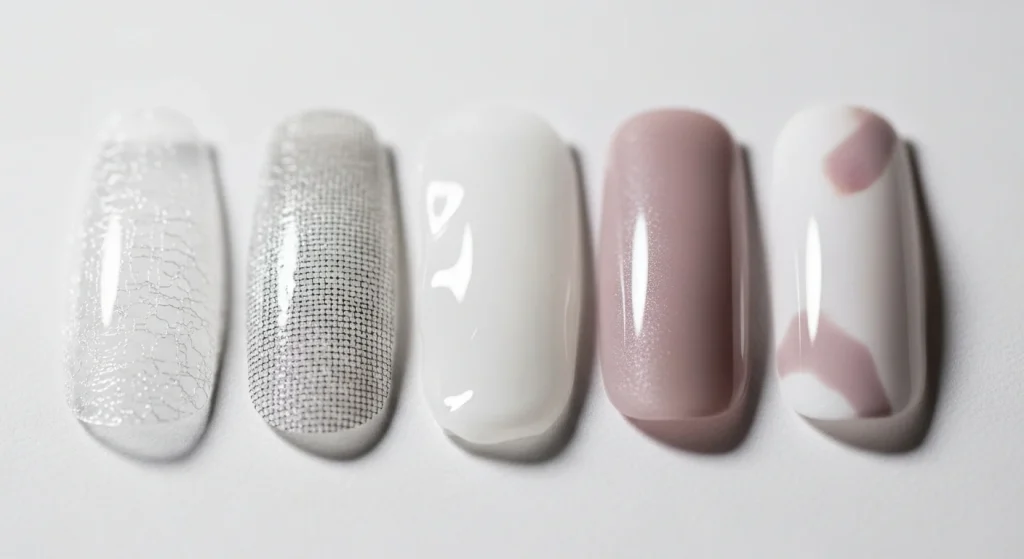
How Nail Wraps Work
Nail wraps adhere to the natural nail plate using pressure, heat, or a built-in adhesive. Once applied, they flatten and mold smoothly to the shape of your nail.
How Adhesive Wraps Work ✔
Polish strips, vinyl wraps, and kids’ wraps use pressure-sensitive adhesive. You simply peel, stick, press, and file.
How Semi-Cured Gel Wraps Work ✔
These wraps are partially cured (about 60%) under UV/LED light during production. Once applied to your nail, you cure them fully with a lamp, creating a durable gel manicure.
How Silk/Fiberglass Wraps Work ✔
These wraps use resin or glue and are ideal for nail repair, strengthening weak nails, or extending nails naturally.
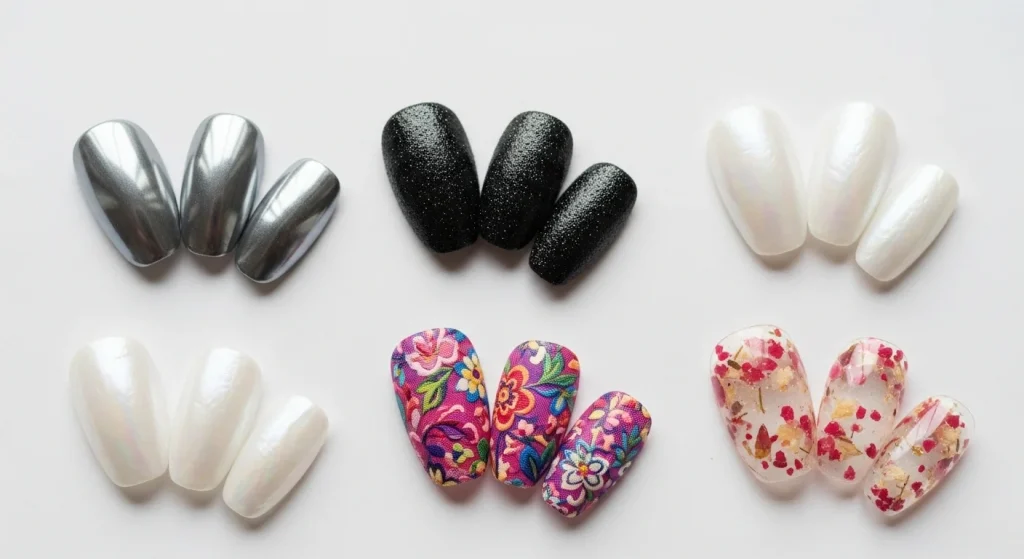
Types of Nail Wraps (Explained Clearly)
Nail wraps come in many variations. Choosing the right type depends on your nail condition, desired durability, and preferred application method.
1. Polish Nail Wraps (Nail Polish Strips)
These are thin strips of real nail polish that stick directly to your nail. They’re flexible, easy to apply, and require no heat or lamp.
Best for:
Beginners, quick manicures, kids, simple designs.
Popular brands: Lily & Fox, Color Street, Dashing Diva Gloss.
2. Semi-Cured Gel Nail Wraps
Semi-cured wraps are the most durable option. They feel like salon gel nails and last 10–21 days with proper application.
Best for:
People who want long-lasting manicures and salon-level shine.
Popular brands: Ohora, EdgeU, Mylee Gel Wraps, Danni & Toni.
For a full breakdown of the best brands, step-by-step application, and troubleshooting, read our complete guide to semi-cured gel nail strips.
3. Silk Nail Wraps
Silk wraps are thin sheets of woven silk used to strengthen nails or repair cracks.
Best for:
Weak nails, repairing split nails, natural nail reinforcement.
4. Fiberglass Nail Wraps
Similar to silk but stronger, fiberglass wraps create a durable protective layer.
Best for:
Extra strength, nail extensions, damaged nails.
5. Vinyl Nail Wraps & Designer Nail Stickers
These are printed vinyl stickers with fashionable designs — perfect for styling.
Best for:
Holiday designs, kids, themed nail art.
6. Toe Nail Wraps
Specially sized for toenails, great for pedicures.
Best for:
Summer, vacations, people who prefer no-polish pedicures.
Pros and Cons of Nail Wraps
Advantages:
- No drying time
- Beginner-friendly
- Affordable
- Wide variety of designs
- No strong fumes or chemicals
- Great for damaged or short nails
- Quick application
- Safe for kids
Disadvantages:
- Some wraps peel if not applied correctly
- Cheap wraps bubble more easily
- Gel wraps require a UV lamp
- Incorrect removal can weaken nails
How Long Do Nail Wraps Last?
Durability varies based on the type:
Wrap Type | Average Wear Time |
|---|---|
Polish wraps | 5–10 days |
Vinyl wraps | 3–7 days |
Semi-cured gel wraps | 10–21 days |
Silk/Fiberglass wraps | up to 3–4 weeks |
Longevity depends heavily on:
- Nail prep
- Top coat usage
- Natural nail oiliness
- Handwashing frequency
- Household chores
- Application technique
How to Apply Nail Wraps (Step-by-Step Guide)
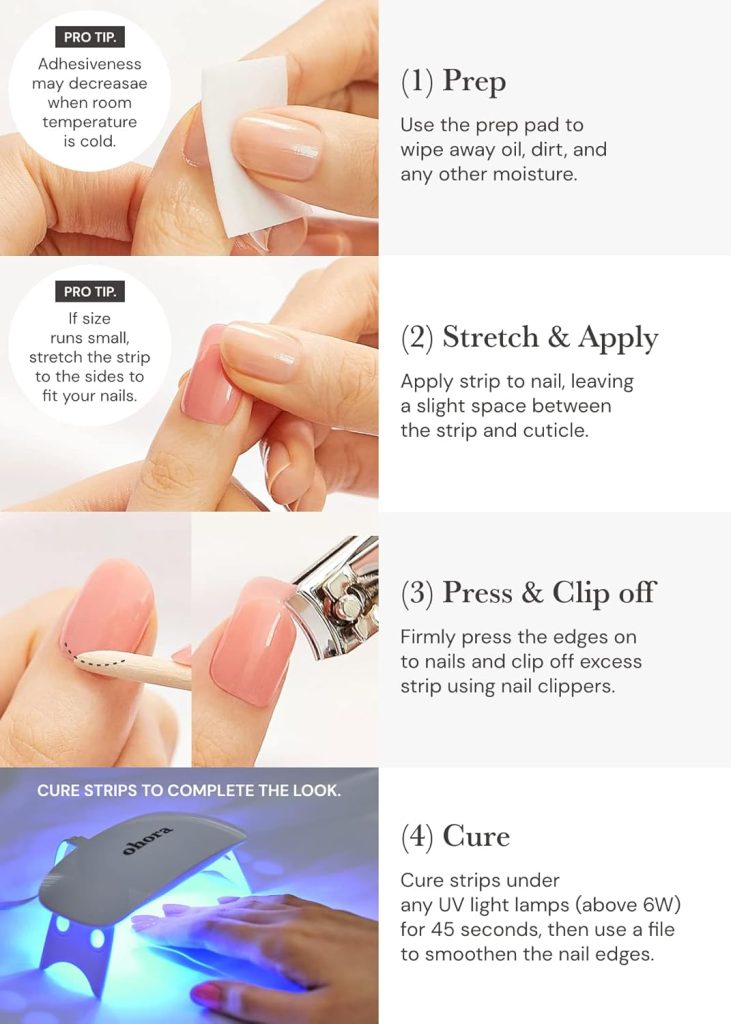
Applying nail wraps the right way is the difference between a manicure that lasts 2 days versus 2 weeks. This section covers how to apply all kinds of wraps — polish strips, vinyl wraps, semi-cured gel wraps, and silk/fiberglass wraps.
What You Need (Essentials Checklist)
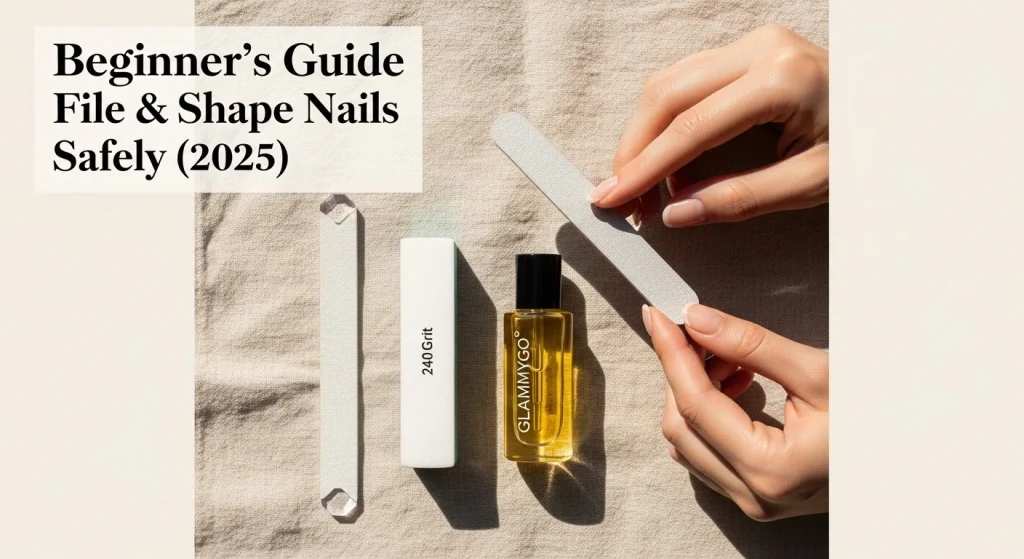
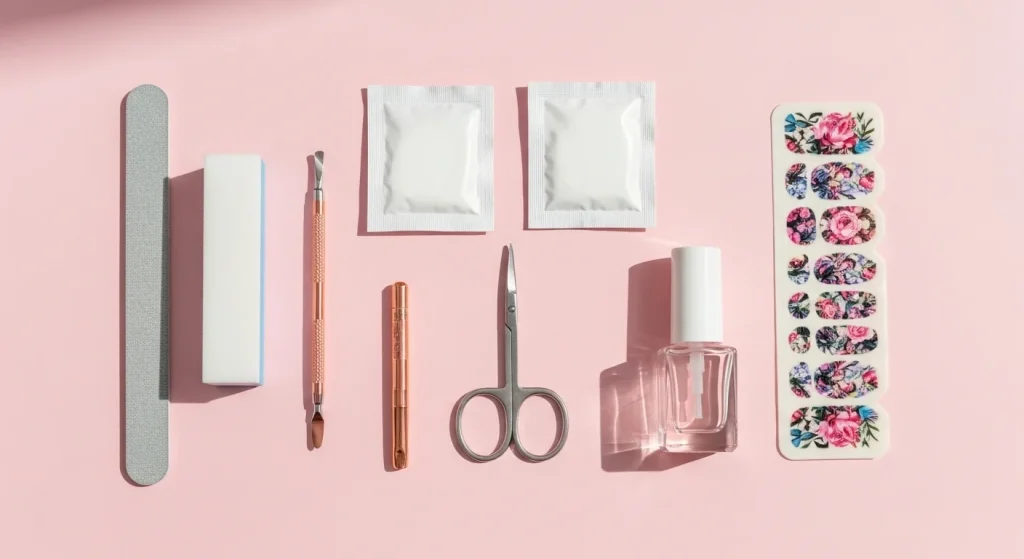
Before applying any type of nail wrap, gather these basic tools:
- Nail file (fine grit)
- Cuticle pusher
- Nail buffer
- Scissors or nail wrap trimmer
- Alcohol wipes
- Top coat (regular or gel)
- UV lamp (only for semi-cured gel wraps)
Step 1 — Prep Your Nails Properly (This Determines Longevity)
Prep is 80% of the result. Even the best nail wraps will peel, bubble, or lift without proper nail preparation.
Follow this prep sequence:
- Wash your hands thoroughly (removes natural oils).
- Push back cuticles gently — wraps should not touch skin.
- Lightly buff the nail surface to remove shine.
- Wipe nails with alcohol to remove debris and oil.
- Choose wrap sizes that are slightly smaller than your nail width.
🔥 Pro Tip: If a wrap touches your skin or cuticle, it will lift.
Step 2 — Select the Correct Wrap Size
Most wrap sets come with 10–16 sizes. Choose the one slightly smaller than your nail bed — never larger.
- For short nails → choose the smallest wrap that covers the nail plate.
- For wide nails → gently stretch flexible polish strips for a custom fit.
Step 3 — Apply the Wrap Smoothly
For polish strips & vinyl wraps:
- Peel the wrap from the backing.
- Line it up at the cuticle without touching the skin.
- Press from the center first, then smooth towards the sides.
- Use a rubber cuticle pusher to press down firmly.
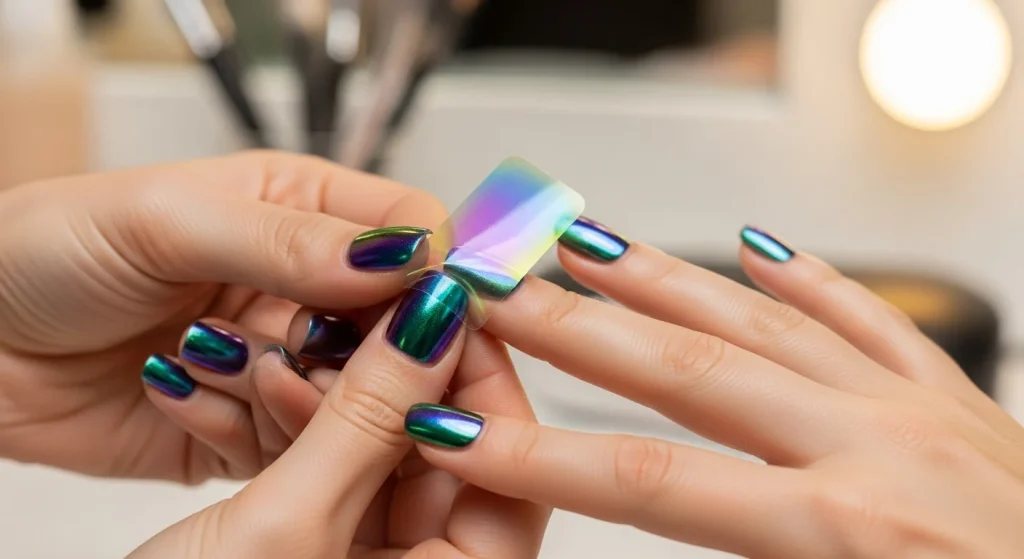
For semi-cured gel wraps:
- Peel the strip and place it on the nail.
- Press firmly — especially near sidewalls.
- Trim the excess before curing.
- Cure under a UV/LED lamp for 60–120 seconds.
These create a salon-quality gel look.
Step 4 — Trim & File the Excess
Hold the nail file straight down (90 degrees) and file in one direction only.
Never file back and forth — that causes lifting.
💡 For semi-cured wraps: trim with scissors first, then file.
Step 5 — Apply a Top Coat (Mandatory for Long Wear)
A top coat dramatically increases durability:
- Gel top coat + UV curing → best option, lasts 2–3 weeks
- Regular top coat → simple but lasts shorter
- No top coat → most wraps peel within days
If using a gel top coat:
- Apply a thin layer
- Cap the free edge
- Cure under UV lamp for 60 seconds
Step 6 — Cure (Only for Semi-Cured Gel Wraps)
Semi-cured gel wraps must be fully hardened under a UV/LED lamp:
- Cure for 60–120 seconds
- Make sure all edges are sealed
This creates a strong, glossy, chip-resistant surface.
How to Use Nail Wraps on Short Nails, Wide Nails & Damaged Nails
Nail wraps work beautifully on all nail types — but the technique differs slightly.
Nail Wraps for Short Nails
Short nails can look polished and clean with wraps, but follow these rules:
- Choose wraps with small widths
- Avoid designs with long vertical patterns
- Trim excess carefully
- Opt for solid colors or simple patterns
Short nails often hold wraps longer because there’s less bending.
Nail Wraps for Wide Nails
For wide nail beds:
- Use stretchable polish strips
- Warm the wrap slightly (hands only, no heat gun)
- Choose brands with wider sizes (Lily & Fox, Ohora)
Nail Wraps for Damaged or Weak Nails
Silk & fiberglass wraps are perfect for strengthening:
- Repair cracks
- Reinforce thin nails
- Prevent peeling layers
- Add structure under polish
How to Remove Nail Wraps Safely
Removing wraps incorrectly is the #1 reason people think “nail wraps ruined my nails.”
But removal is easy and damage-free when done gently.
Method 1 — Oil & Warm Water Removal (Safest)
Best for: polish wraps, kids’ wraps, vinyl wraps.
Steps:
- Soak nails in warm water + a few drops of oil
- Lift gently from the bottom edge with a cuticle stick
- Slide the wrap off slowly
Method 2 — Alcohol Removal
- Apply alcohol around the edges
- Wait 15–20 seconds
- Slide off gently
Method 3 — Foil & Cotton Removal (For Gel Wraps)
Used for semi-cured gel wraps or when a gel top coat was applied.
Steps:
- Place acetone-soaked cotton on the nail
- Wrap with foil for 10–15 minutes
- Gently scrape softened wrap
Method 4 — Non-Acetone Removal (Gentle Option)
Great for kids or sensitive nails.
Are Nail Wraps Safe?
In general, yes — nail wraps are safe, especially compared to gel, acrylics, or polygel systems that can weaken nails over time.
However, safety depends on:
✔ 1. The Type of Nail Wrap
- Polish strips → safe, low chemicals
- Vinyl wraps → safe if removed gently
- Semi-cured gel wraps → safe as long as removal is done correctly
- Silk/fiberglass wraps → extremely safe and nail-repair friendly
✔ 2. Removal Method
Most nail damage comes from peeling wraps off dry, which removes layers of the nail.
Use oil, warm water, or acetone-based removal as needed.
✔ 3. Skin Sensitivity
Some people may react to:
- adhesives
- acrylates in gel wraps
- UV curing
But reactions are rare.
📌 Bottom Line
Nail wraps are one of the safest manicure options available — especially when compared to gel polish or acrylics.
Nail Wraps vs Other Nail Options
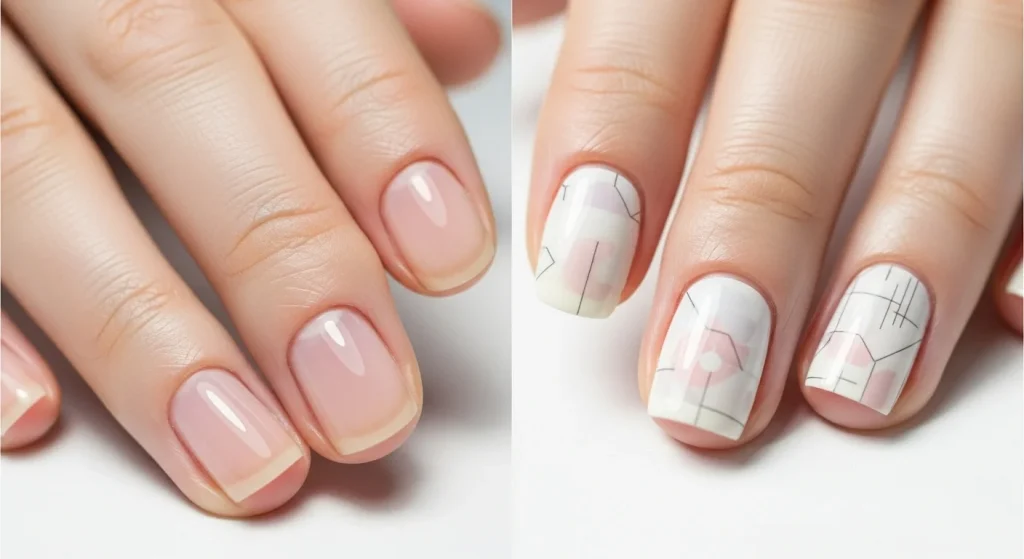
One of the biggest reasons nail wraps have become so popular is because they are less damaging, less expensive, and easier than most manicure alternatives.
Here’s how they compare.
Nail Wraps vs Gel Polish
Feature | Nail Wraps | Gel Polish |
|---|---|---|
Damage | Low | Medium |
Application | Easy | Moderate |
Removal | Easy (varies) | Needs acetone soak |
Longevity | 7–21 days | 14–21 days |
Tools | Minimal | UV lamp required |
Conclusion: Nail wraps give gel-like results with less damage.
Nail Wraps vs Acrylic Nails
Feature | Nail Wraps | Acrylics |
|---|---|---|
Damage | Very low | High |
Cost | Low | High |
Time | Quick | Long |
Removal | Simple | Difficult / harsh |
Conclusion: Wraps are far safer, cheaper, and easier.
Nail Wraps vs Press-On Nails
Feature | Nail Wraps | Gel Polish |
|---|---|---|
Look | Natural, thin | Thicker, artificial |
Durability | Medium–High | Medium |
Reusability | No | Sometimes |
Comfort | Very natural | Depends on thickness |
Conclusion: Wraps look more natural, press-ons are faster.
Nail Wraps vs Nail Stickers
Many people confuse these two.
Nail stickers are thin decorative decals — not full nail coverings.
Wraps = full coverage
Stickers = decorations only
Best Nail Wrap Brands in 2026 (Top Picks)
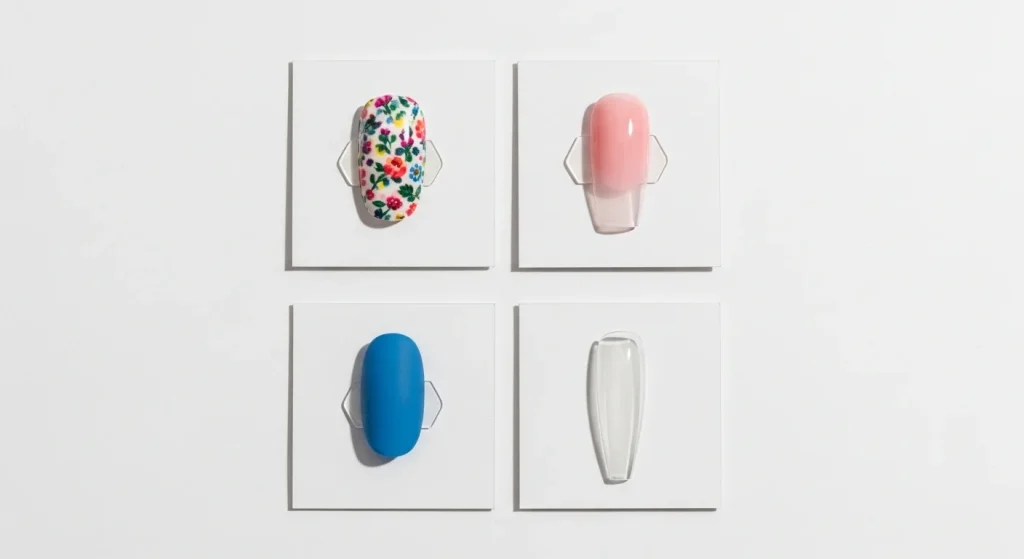
With hundreds of brands available, these are the best-performing, most popular ones based on durability, design quality, affordability and user reviews. To help you choose high-quality brands, see our expert review of the best nail wraps for 2026.
1. Lily & Fox
- Best for beginners
- Very affordable
- Great designs
- Easy to apply
Best for: everyday users, short nails, kids, hobbyists.
2. Ohora
- Premium Korean semi-cured gel wraps
- Long-lasting (up to 14–21 days)
- Salon-quality finish
Best for: people who want gel nails without the salon.
3. Dashing Diva
- Offers Gloss (polish strips) & Glaze (semi-cured gel)
- Extremely popular
- Huge design variety
Best for: trendy nail art, holidays, seasonal styles.
4. Color Street
- Real nail polish strips
- Strong U.S. fan base
- Very flexible
Best for: easy application and wrap beginners.
5. Miss Sophie
- European brand
- Elegant minimalist designs
- High quality
Best for: professional, clean, aesthetic looks.
6. Mylee Gel Nail Wraps
- Semi-cured
- Affordable
- Very durable with gel topcoat
Best for: long wear at a lower price.
7. Jamberry (Legacy Brand)
Although the company shut down, designs are still widely searched and bought on marketplaces.
Best for: unique, discontinued designs.
For readers interested specifically in Jamberry, I’ve created a full Jamberry Nails guide covering application, removal, problems, and where to buy them in 2026.
Nail Wrap Troubleshooting (Fix Bubbling, Peeling & Lifting)
This is one of the most important sections, because these issues are what cause most users to give up on wraps.
1. Bubbling
Causes:
- Oily nails
- Not enough pressure during application
- Cheap vinyl wraps
Fixes:
- Use alcohol wipes
- Press from center outward
- Apply heat (only for vinyl wraps)
2. Peeling
Causes:
- Wrap touching skin
- Edges not sealed
- No top coat
Fixes:
- Cuticle prep is essential
- Always cap the free edge with top coat
- Avoid water for the first hour
3. Lifting
Causes:
- Wrap too large
- Filing incorrectly
- Thick wraps not smoothed fully
Fixes:
- Choose smaller sizes
- File downwards only
- Use rubber pusher to secure edges
4. Wrinkles
Causes:
Flexible wraps stretching too much.
Fix:
Apply very gently; avoid pulling.
5. Wraps Ruining Nails?
No — the removal method is always the culprit.
If you peel them off dry, you’ll remove layers.
If you remove gently with oil or acetone, your nails stay healthy.
How to Make Nail Wraps Last Longer (Pro Tips)
If your wraps usually last only a few days, these tips will dramatically extend wear time — especially for polish strips and semi-cured gel wraps.
1. Start With a Perfect Nail Prep
This is the #1 factor.
- Remove oils with alcohol
- Push back cuticles
- Buff gently
- Make sure nails are fully dry
Wraps stick to nails — not skin or moisture.
2. Choose the Perfect Size
A wrap that is too big will lift at the edges.
Always choose a wrap that is slightly narrower than your nail.
3. Use the Right Top Coat
- Gel top coat + UV light → best for longevity
- Regular top coat → good for beginners
- No top coat → shortest wear time
Seal the free edge (tip) for extra durability.
4. Avoid Water for 1 Hour After Application
Wraps need time to settle and fully adhere.
5. For Semi-Cured Gel Wraps: Cure Properly
- Cure 60–120 seconds
- Use a strong LED lamp
- Cap edges with gel
This creates rock-hard durability.
6. Use Gloves for Chores
Chemicals + hot water weaken any manicure — including wraps.
DIY Nail Wraps (How to Make Them Yourself)
Making your own nail wraps is becoming a popular trend — especially for people who want custom designs, Cricut-created wraps, or small businesses producing wraps to sell.
Below are the best DIY methods.
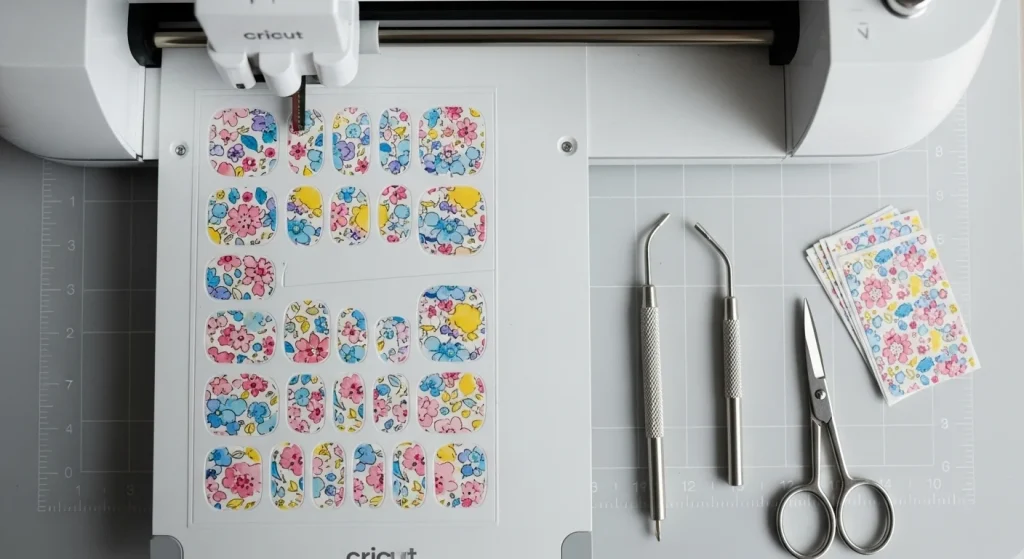
Method 1 — DIY Vinyl Nail Wraps (Using Cricut or Silhouette)
You can design and cut your own vinyl wraps using:
- Cricut Joy
- Cricut Maker
- Silhouette Cameo
Steps:
- Choose a vinyl sheet in your preferred color/pattern.
- Upload wrap templates into Cricut Design Space.
- Cut the wraps using the machine.
- Apply them like standard vinyl wraps.
- Seal with a top coat (optional).
Best for: holiday designs, custom art, kids’ wraps.
Method 2 — DIY Nail Polish Wraps
This is a more advanced method, but looks beautiful.
Steps:
- Paint nail polish on a silicone mat.
- Let it dry until flexible (12–24 hours).
- Peel off the dried polish sheet.
- Cut into wrap shapes.
- Apply with base coat and top coat.
Best for: detailed polish art.
Method 3 — DIY Semi-Cured Gel Wraps
This method is advanced and often used by small businesses.
Steps:
- Paint gel polish onto nail wrap mold foil.
- Semi-cure under UV lamp (40–60%).
- Peel off while flexible.
- Apply to nail and fully cure.
Best for: creating your own gel wrap brand.
Nail Wraps FAQs (People also ask)
What are nail wraps?
Nail wraps are thin decorative or strengthening coverings made from polish strips, gel, silk, fiberglass, or vinyl that adhere to natural nails.
How do nail wraps work?
They stick to the nail using adhesive or resin, shaping to your nail plate. Semi-cured gel wraps harden under UV light for durability.
How long do nail wraps last?
Depending on type:
- Polish wraps: 5–10 days
- Semi-cured gel wraps: 10–21 days
- Silk/fiberglass: up to 4 weeks
How do I apply nail wraps?
Prep nails → choose size → apply wrap → trim → file → top coat → (optional) UV cure.
How do I remove nail wraps safely?
Use oil + warm water, alcohol, or acetone foil wraps for gel types. Never peel wraps off dry.
Are nail wraps safe?
Yes. They’re safer than acrylics or gel polish when removed correctly.
Can I put nail wraps on acrylic or gel nails?
Yes — they adhere well and add design without extra chemicals.
Can I put a gel top coat over nail wraps?
Yes — this significantly increases longevity.
What are silk or fiberglass wraps used for?
They repair chipped nails, strengthen thin nails, and help with natural nail growth.
Why do my nail wraps bubble or peel?
Common causes: poor nail prep, wrap touching skin, no top coat, or incorrect filing direction.
What are semi-cured gel wraps?
They are gel nail strips cured 60% so they remain flexible. Once applied, they fully cure under a UV lamp.
Where can I buy nail wraps?
Popular places include Amazon, Walmart, Ulta, Target, and brand websites like Lily & Fox, Ohora, Dashing Diva, and Miss Sophie.
Do nail wraps ruin your nails?
No — improper removal does. Always remove gently with oil or acetone.
How do you make your own nail wraps?
Use vinyl + Cricut, polish sheets on silicone mats, or gel on curing molds.
Which nail wraps are the best?
Top picks for 2026:
- Lily & Fox (budget)
- Ohora (semi-cured gel)
- Dashing Diva (designs)
- Miss Sophie (elegant)
- Mylee (durability)
Final Tips for Perfect Nail Wraps Every Time
- Always prep nails thoroughly
- Choose wraps slightly smaller than your nail
- Press the center first, then sides
- File in one direction
- Apply a top coat
- Avoid water for at least one hour
- Remove gently — never peel
Follow these steps and you’ll get a salon-quality manicure at home, without damage or downtime.