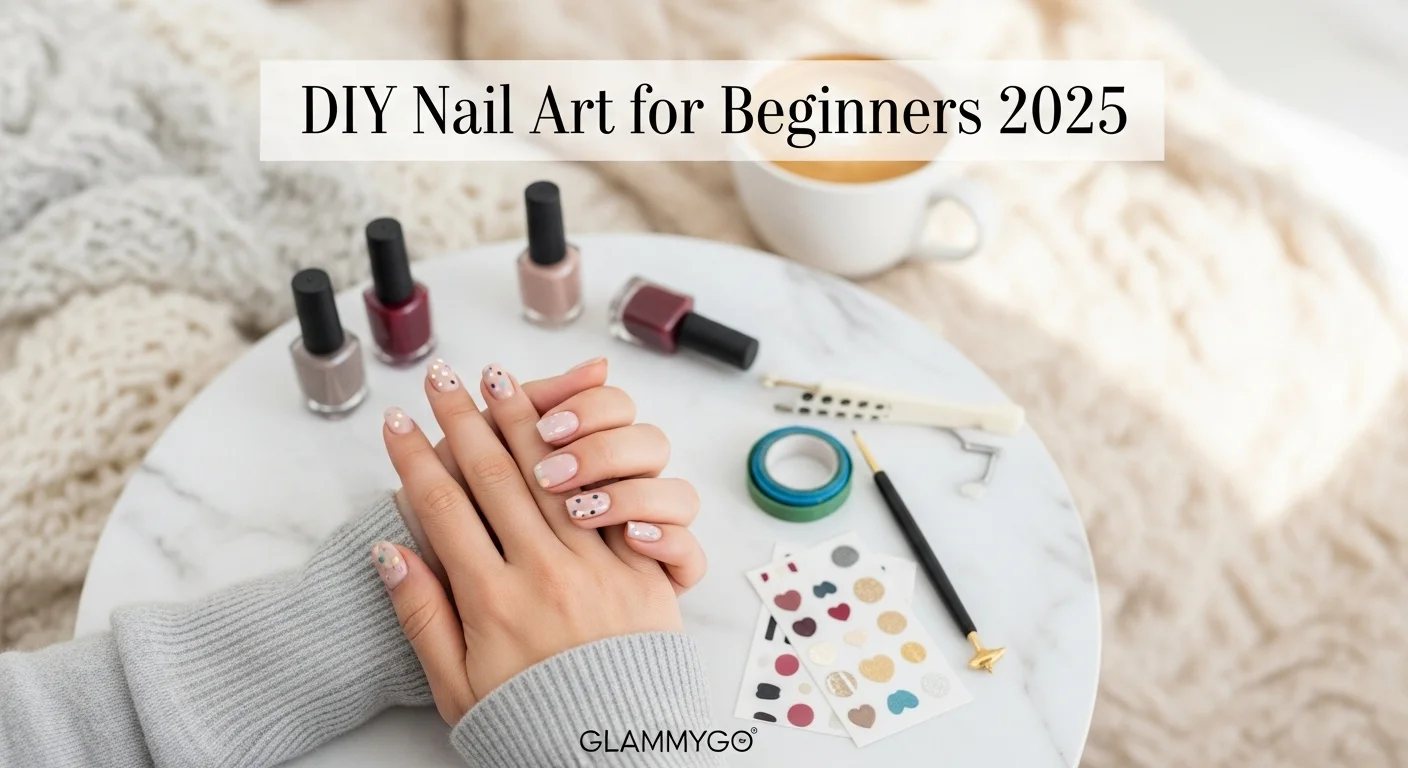
DIY Nail Art for Beginners: Easy Designs You Can Master at Home (2026 Edition)

Why Try DIY Nail Art in 2026?
Nail art used to feel like something you needed a salon appointment for, but not anymore. In 2026, tools are more beginner-friendly, designs are simpler to recreate, and trends lean toward minimalism and creativity over perfection. Whether you’re on a budget, love experimenting at home, or just want nails that reflect your personality, DIY nail art is the perfect place to start.
And here’s the best part: you don’t need a drawer full of expensive tools. With a few basics — and even some everyday items you already own — you can create chic, Instagram-worthy designs that last.
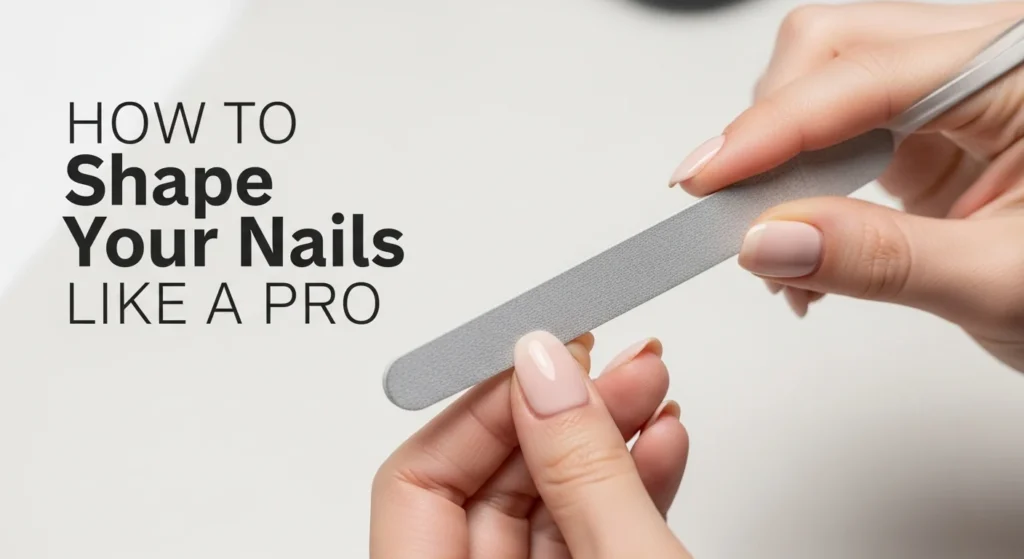
Before diving into designs, though, make sure your base is ready — a well-filed nail makes any art pop. If you’re not confident with filing, our guide on How to Shape Your Nails Like a Pro (Round, Almond, Coffin) walks you through every step.”
What Tools Do You Need to Start DIY Nail Art?
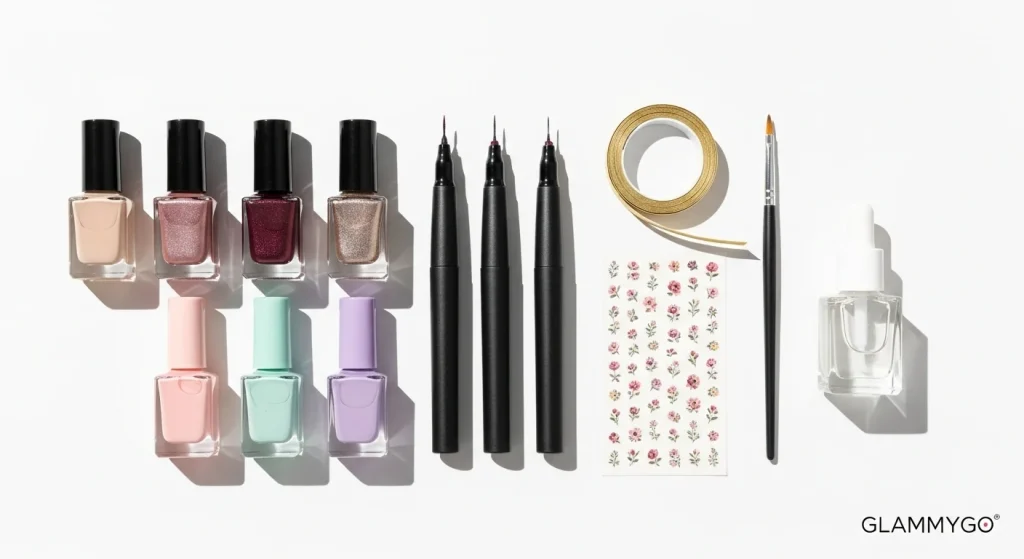
Before diving into designs, let’s set up your beginner nail art toolkit. Don’t worry — it doesn’t have to be overwhelming or expensive.
Beginner Essentials:
- Base coat & top coat → Protect nails and seal your designs.
- Dotting tools (or bobby pins if you’re improvising).
- Striping tape or thin brushes for lines.
- Nail stickers & decals → instant pro finish.
- Nail polish in at least 3 colors → a neutral base, a bold accent, and a metallic/glitter.
💡 Pro Tip: Household items like toothpicks, Scotch tape, or makeup sponges can easily double as nail art tools for beginners.
Q: Do I need professional tools for nail art?
Nope! Many beginners start with what they already have — like bobby pins for dots, tape for stripes, and even an old eyeshadow brush for gradients. Professional tools make things easier, but they’re not required to start.
Easy Nail Art Designs Beginners Can Try (Step-by-Step)
Now for the fun part — designs you can actually master on your first try. These aren’t complicated Instagram-only looks. They’re practical, easy, and trending in 2026.
1. Polka Dot Nails (Classic & Fun)
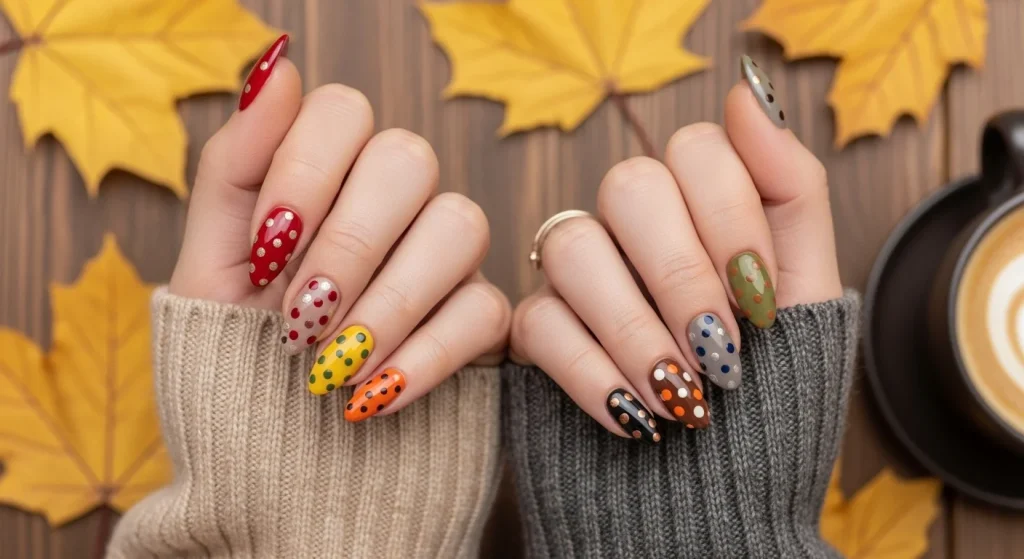
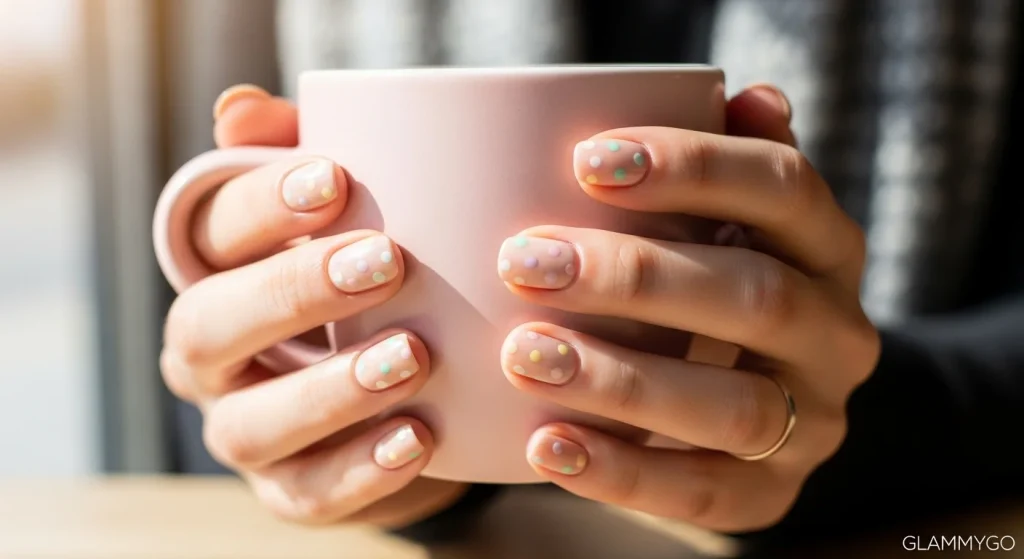
Polka dots are timeless, and they’re one of the easiest nail art designs for beginners.
How to do it:
- Paint nails with a nude or pastel base coat.
- Dip a dotting tool (or bobby pin tip) into your chosen polish.
- Place dots evenly or randomly across each nail.
- Seal with top coat for a smooth finish.
Trending Twist 2026: Try multicolor pastel dots on a sheer nude base — minimal yet playful.
💡 Pro Tip: Less is more. Two accent nails with polka dots look chic and not overly busy.
2. Minimalist Stripes
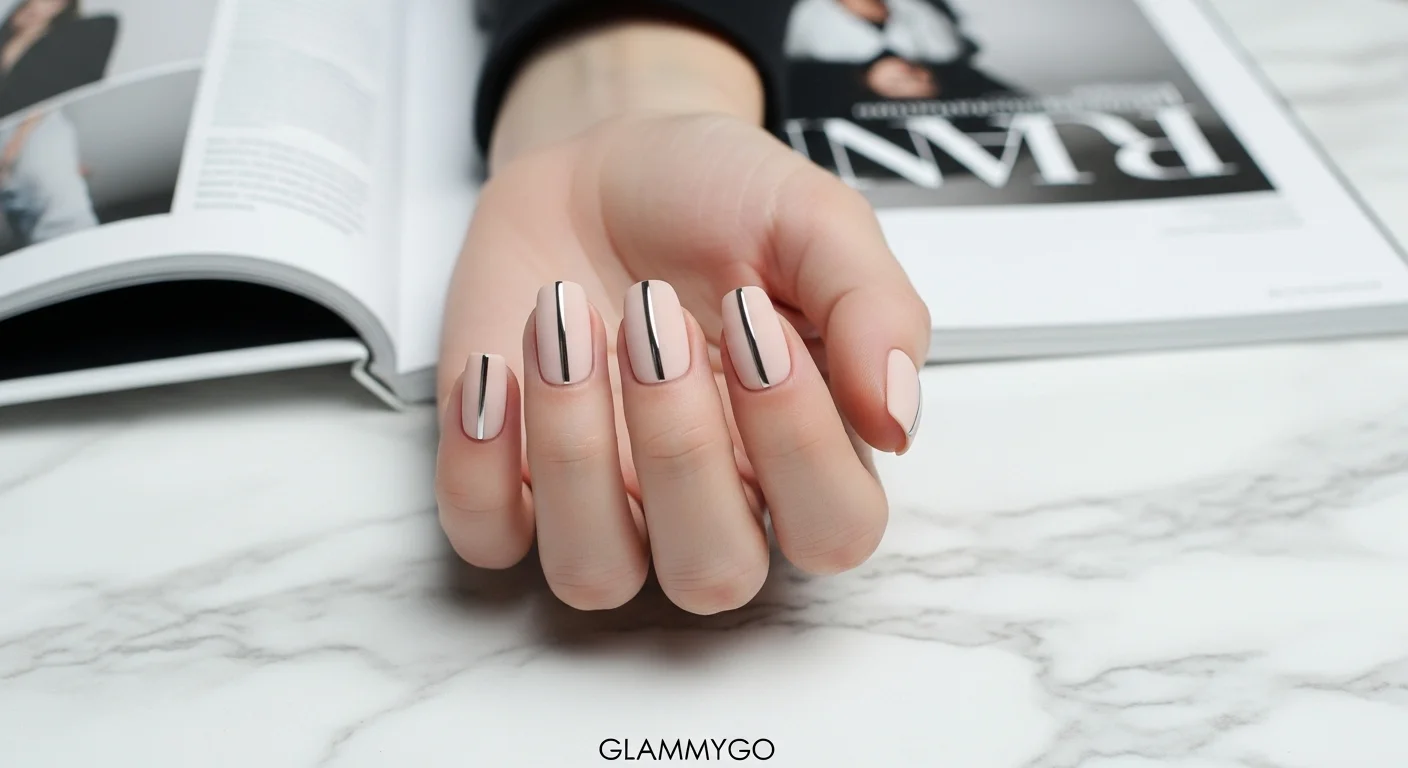
Stripes give a sleek, modern vibe and look harder than they are.
How to do it:
- Apply a nude or neutral base.
- Place striping tape vertically or diagonally.
- Paint over with metallic polish (chrome and rose gold are huge for 2026).
- Carefully peel off tape before polish dries.
Q: How do I keep stripes neat and straight?
Always peel striping tape while polish is still wet. Waiting until it dries can cause pulling or cracks.
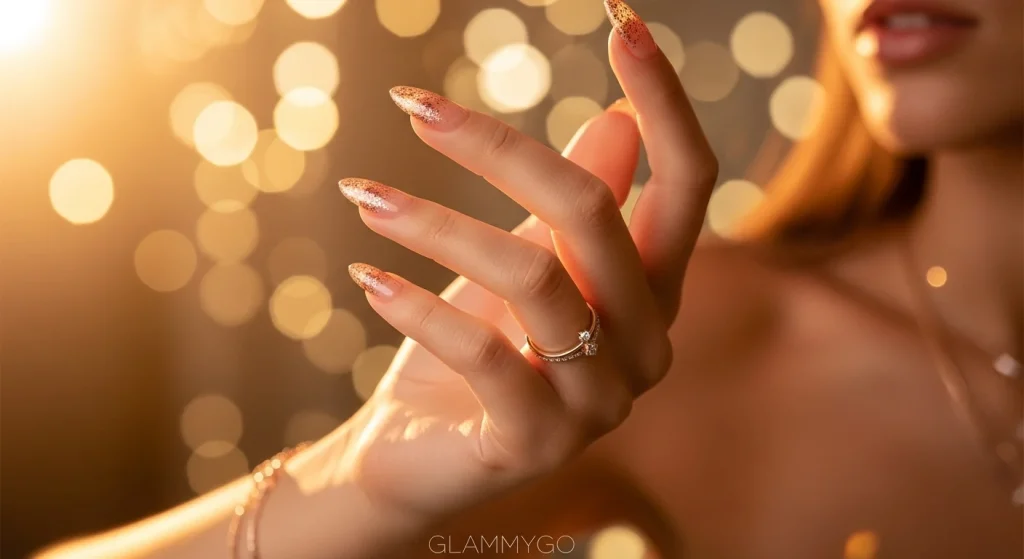
3. Glitter Fade Nails
Perfect for nights out, weddings, or when you want something glam with minimal effort.
How to do it:
- Paint nails with a sheer nude or pink base.
- Dab glitter polish onto a makeup sponge.
- Press the sponge onto the tips of your nails for a gradient fade.
- Blend softly toward the middle for ombré effect.
💡 Pro Tip: Always use a peel-off base coat with glitter — it saves your nails (and your sanity) during removal.
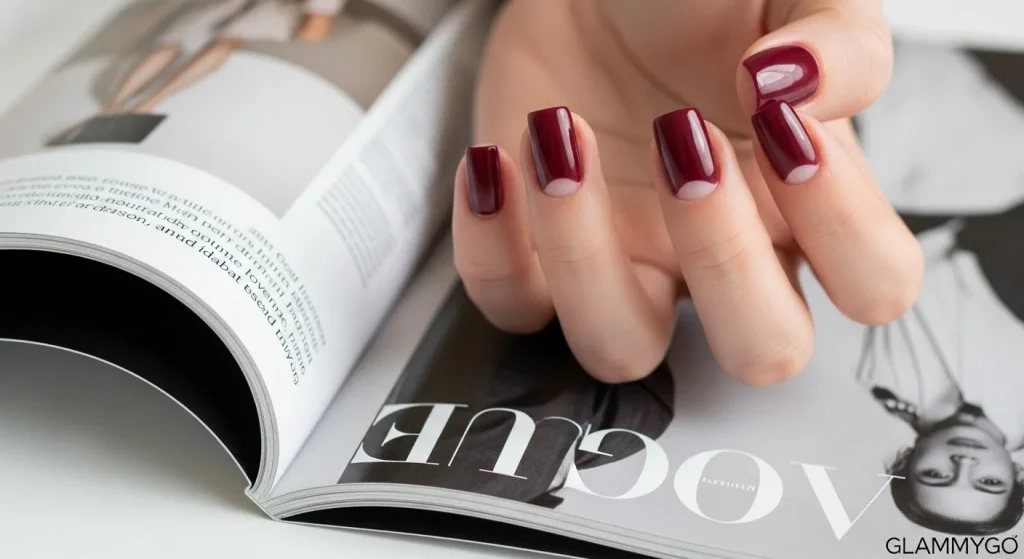
4. Negative Space Accent Nails
This trendy design uses bare nail sections as part of the look.
How to do it:
- Apply tape or sticker to create a half-moon or triangle shape.
- Paint around it with bold color (burgundy, emerald, or cobalt).
- Remove tape to reveal clean negative space.
Trending 2026: Half-moon negative space in deep burgundy or chocolate brown.
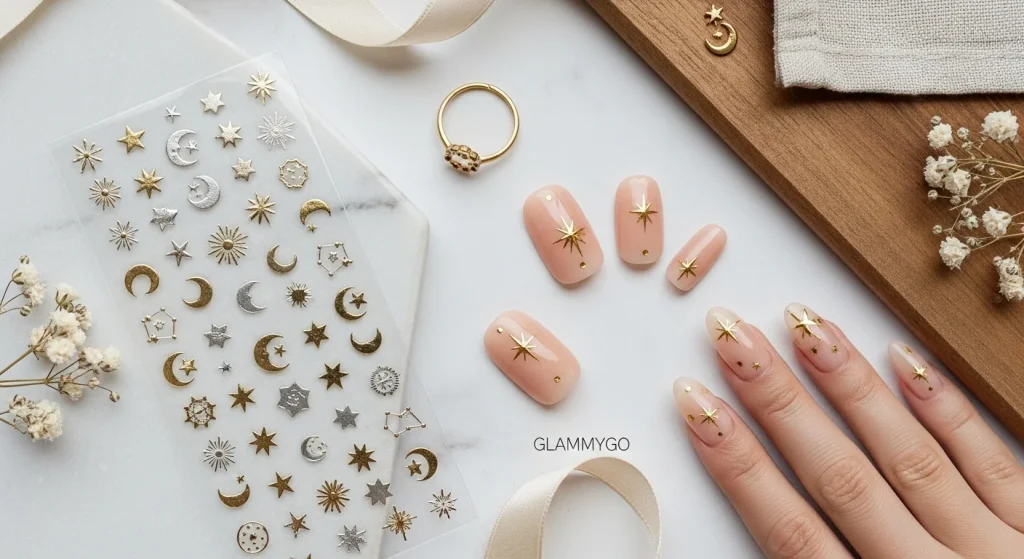
5. Stickers & Decals (Beginner’s Cheat Code)
Nail stickers are exploding in popularity in 2026 — celestial stars, tiny florals, and metallic decals are everywhere.
How to do it:
- Apply base color (sheer nude or pale pink works best).
- Place sticker/decal gently with tweezers.
- Seal with top coat for lasting wear.
Q: Do nail stickers damage nails?
No — as long as you remove them gently with acetone-free remover. They’re safer than heavy acrylics.
Common Mistakes Beginners Make (And How to Avoid Them)
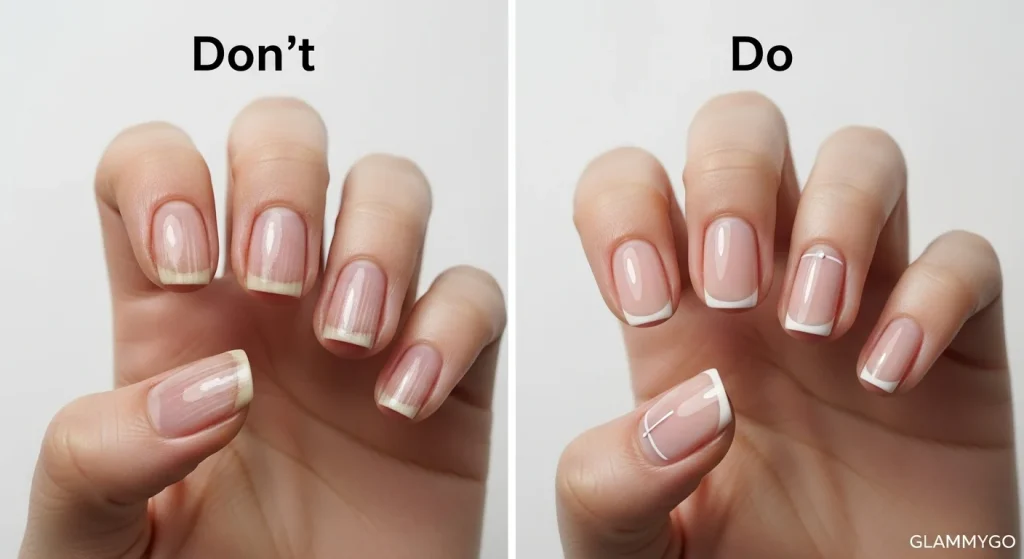
Even the best designs flop if you make rookie mistakes. Here’s how to avoid them:
- Too much polish on the brush → causes thick, gloopy layers. Always use thin coats.
- Skipping base/top coat → results in chips within a day.
- Not letting polish dry fully → rushing ruins designs.
- Overcomplicating designs → start simple, add flair later.
💡 Pro Tip: Always let each layer dry completely before adding another. Patience is the secret ingredient in beginner nail art.
Building Confidence with Practice
DIY nail art is just like makeup — the more you practice, the better you get. Start small, experiment with seasonal colors, and don’t be afraid of mistakes.
💡 Pro Tip: Practice on press-on nails first. They’re cheap, reusable, and let you experiment without committing to your natural nails.
Conclusion
Nail art in 2026 is all about creativity without pressure. You don’t need perfect salon skills to make your nails look chic — just a few tools, some patience, and the willingness to play. From polka dots to glitter fades, even the simplest designs can transform your nails into an accessory that speaks your style.
So go ahead — grab your dotting tool (or bobby pin!), try a design, and don’t forget to pin your results. And if you’d like to take your DIY even further, follow our Step-by-Step Guide to a Salon-Quality Manicure at Home to learn how to prep and finish your nails like a pro. Your DIY nail art journey starts here.
If you’re planning your next mani, check out our Winter Nail Colors 2026 guide for shades that pair beautifully with your favorite designs.